- Enabling AVC on vManage and Verification
- Checking Policy configuration for AVC
- Verification
Enabling AVC on vManage and Verification
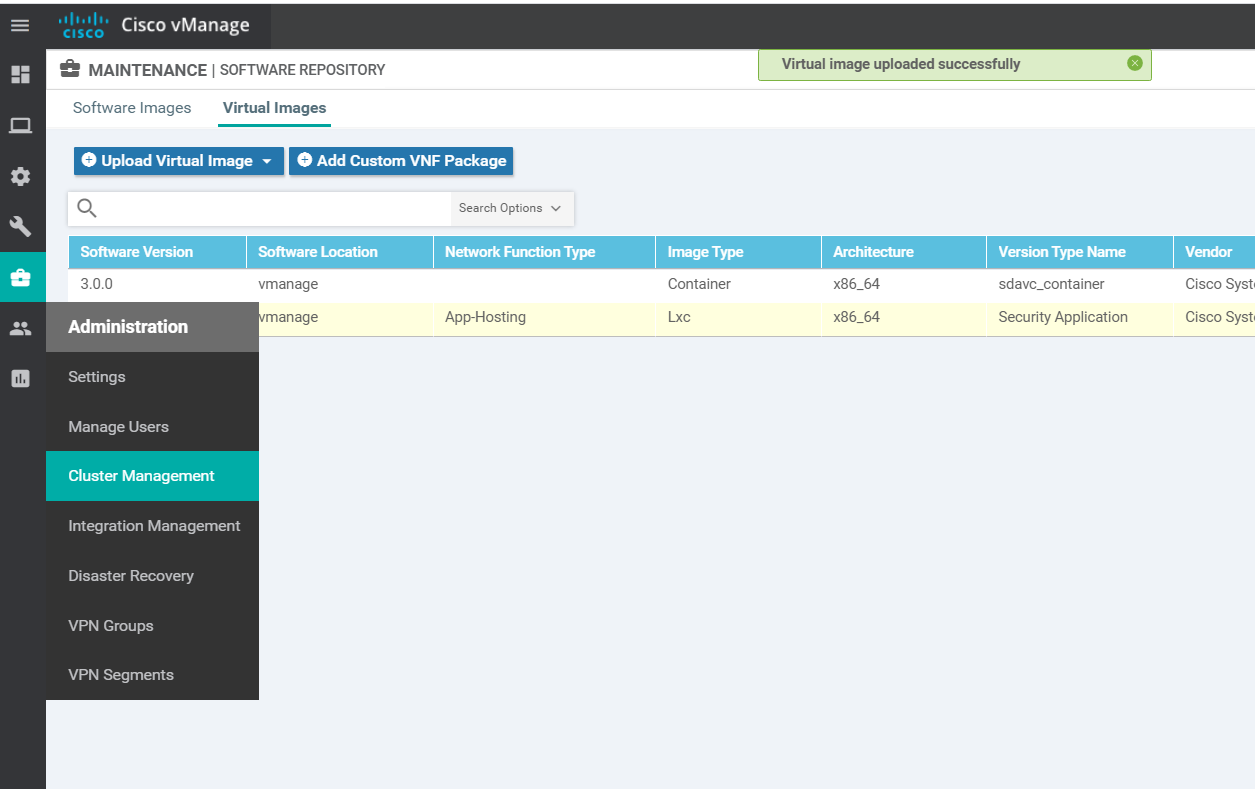
vManage acts as the SD-AVC Network Controller and the cEdges act as SD-AVC clients. In order to make vManage the AVC Controller, we need to enable the functionality on the GUI. In previous versions of vManage, this entailed uploading an SD-AVC image to vManage but with version 20.3.x, the AVC container comes bundled with the vManage image. It just needs to be enabled.
-
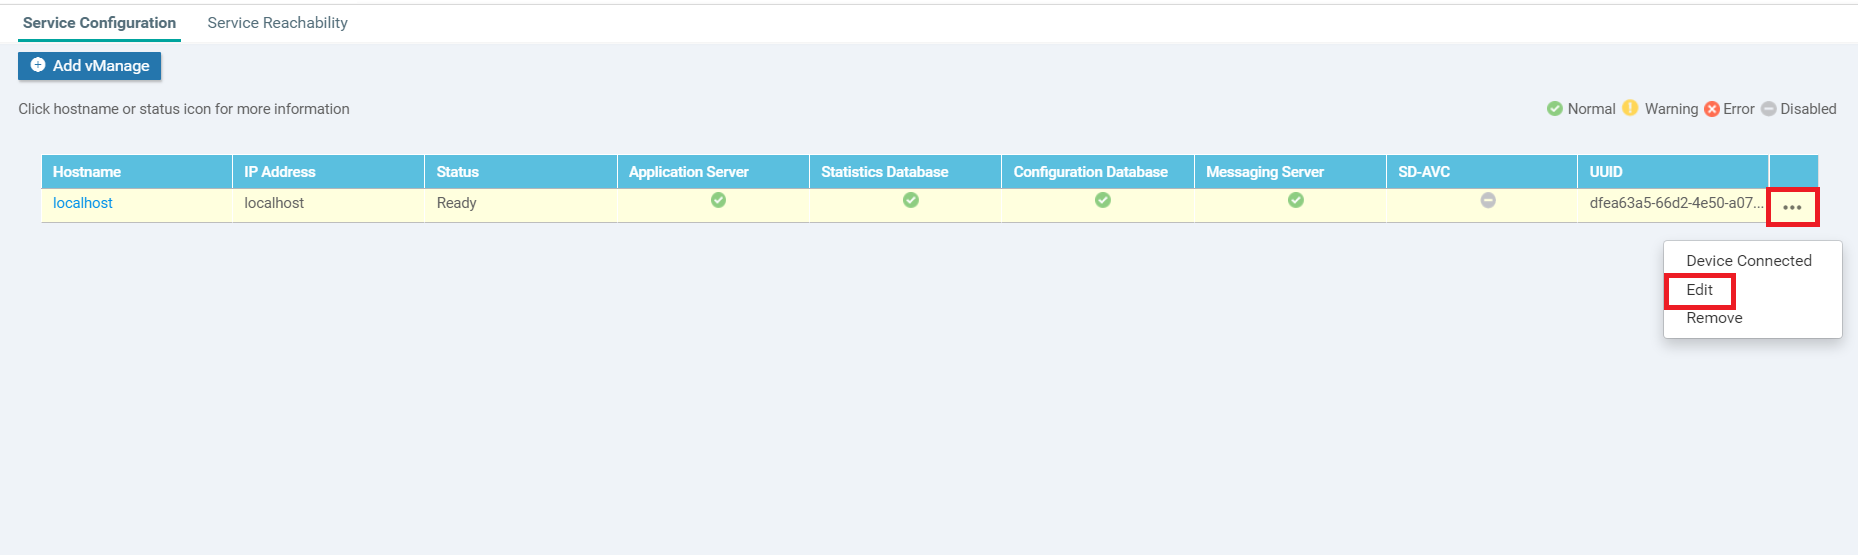
Navigate to Administration => Cluster Management
-
Click on the three dots next to vmanage and click on Edit
-
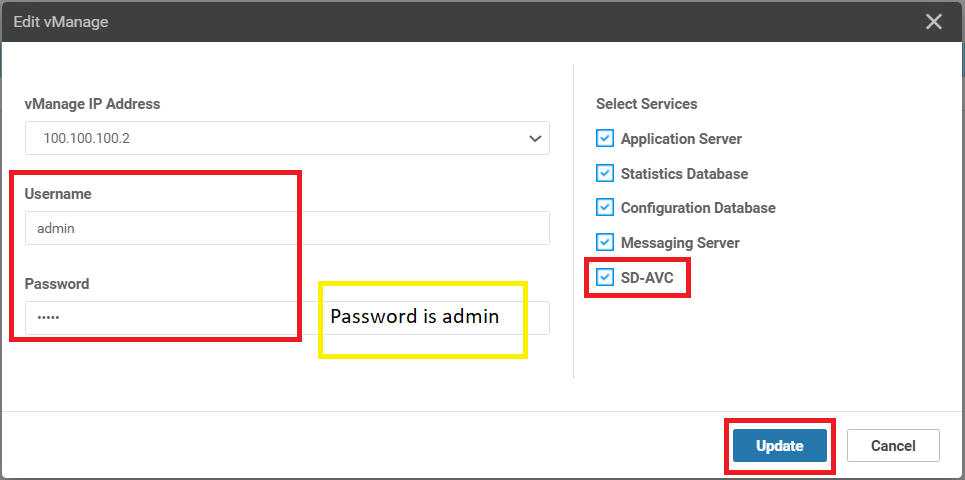
Enter the username of admin and a password of admin. Put a check mark next to SD-AVC (this will automatically check Application Server as well) and click on Update
-
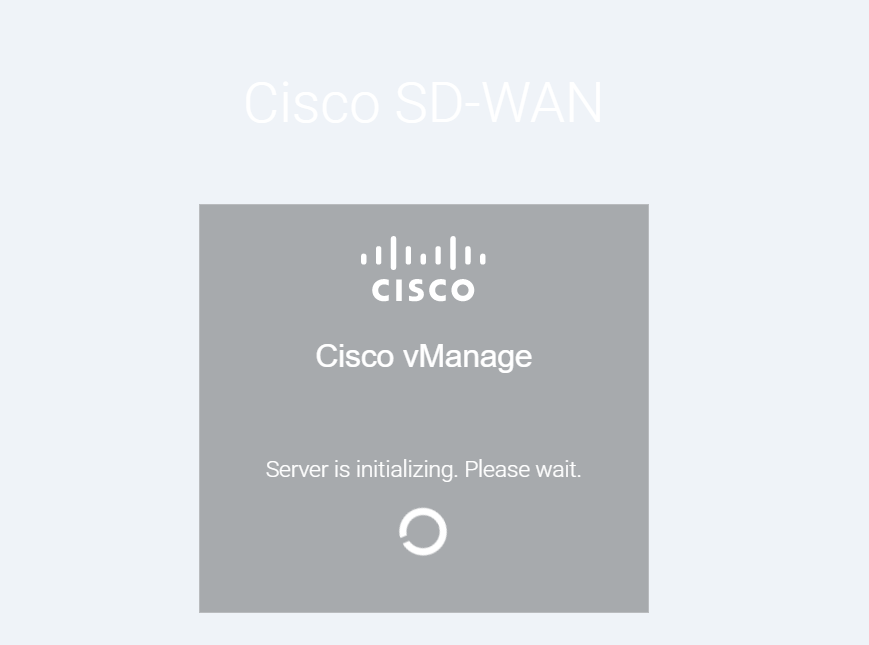
The vManage will reboot once we click on OK. Click OK and the vManage should go down. It will take approximately 10 minutes for the server to come back up completely

-
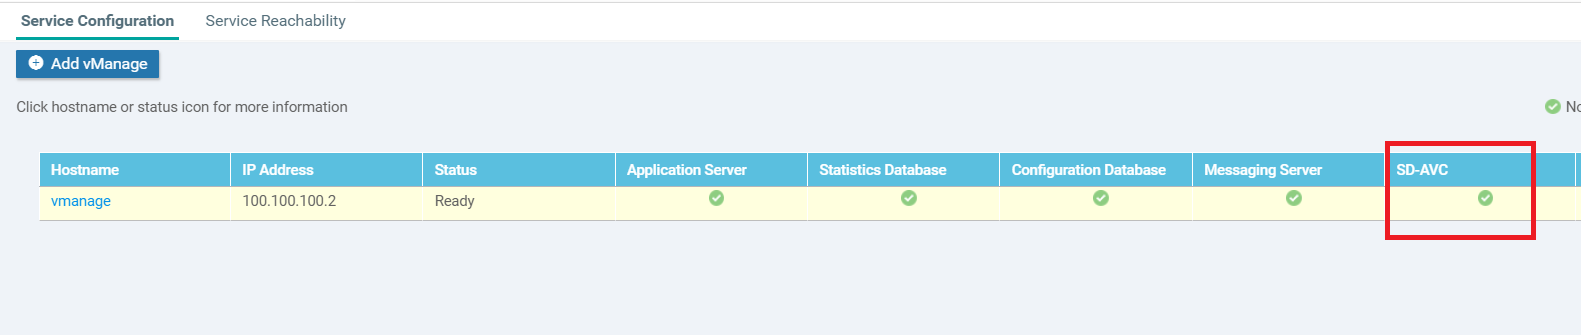
After the vManage comes up, log in to the GUI and navigate to Administration => Cluster Management. The SD-AVC column should have a green check mark
-
Log in to the CLI for vManage via Putty and run the command
request nms container-manager status. We should see the NMS Container Manager enabled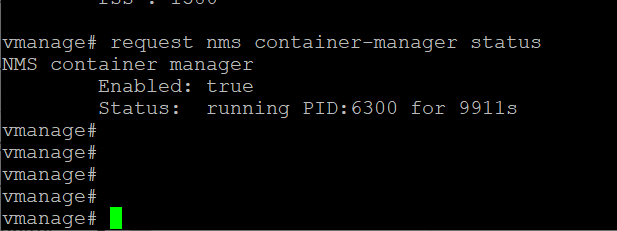
request nms container-manager status -
We can also run
request nms-container sdavc_container statusandrequest nms-container sdavc_container diagand this should show that the sdavc_container is UP, along with a few more details of the container itself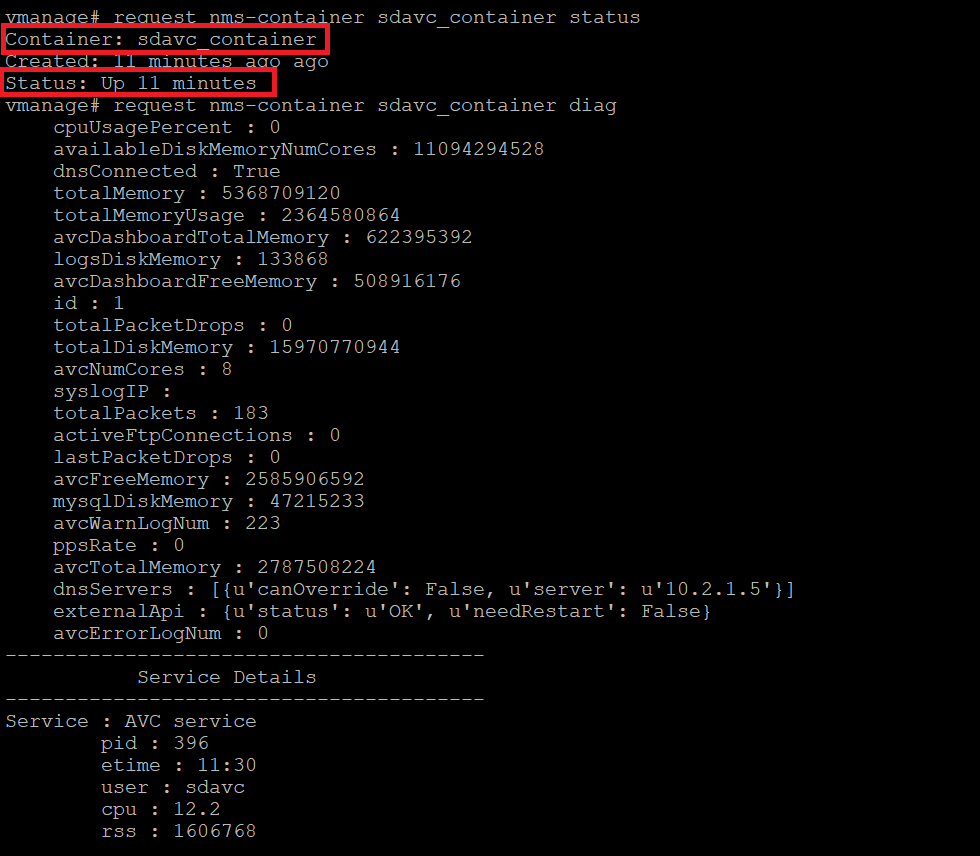
 request nms-container sdavc_container status
 request nms-container sdavc_container diag
-
- Checking Policy configuration for AVC
- Verification
Checking Policy configuration for AVC
The configuration we had done for QoS also had the relevant configuration required for SD-AVC to function. Our policy configuration done for QoS coincidentally allows the cEdge to become an SD-AVC Agent as well. In this section, we will review the configuration in place for the cEdges to become SD-AVC agents.
-
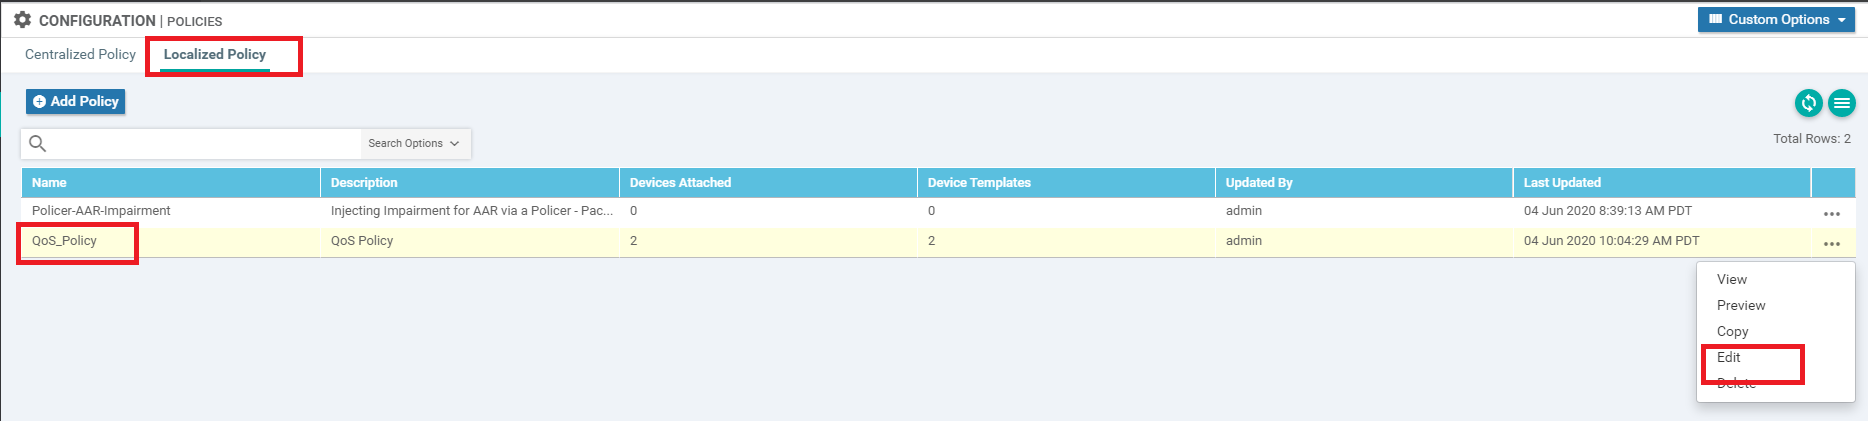
On the vManage GUI, navigate to Configuration => Policies and click on the Localized Policy tab. Locate the QoS_Policy created before and click on the three dots next to it. Choose to Edit (we won’t be making any changes, just review)
-
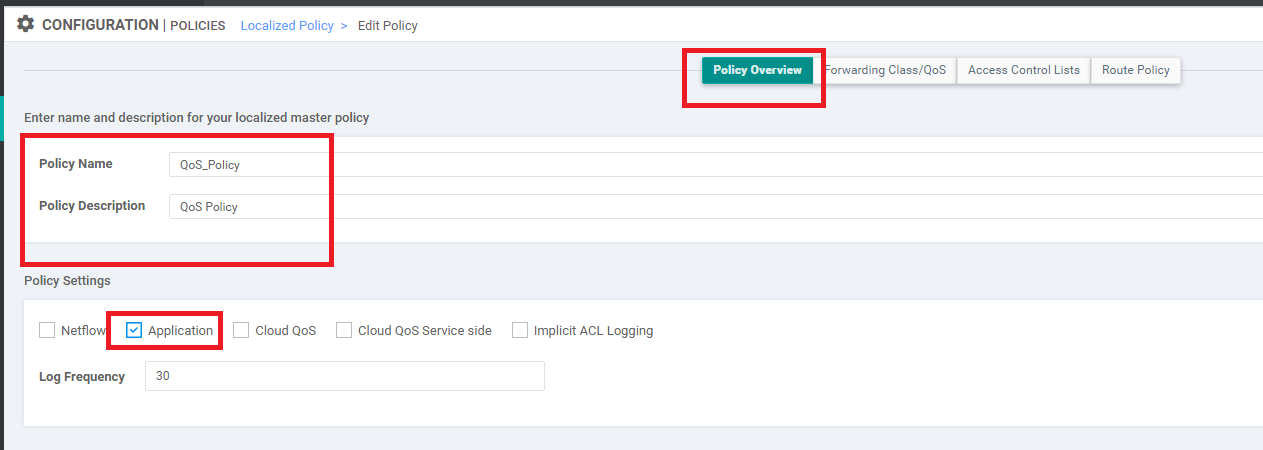
Go to the Policy Overview tab and make note of the name of the Policy (QoS_Policy). Under Policy Settings, the Application check box has been checked - this is what triggers configuration that makes the cEdge an SD-AVC Agent. Click on Cancel to exit out of the Policy
-
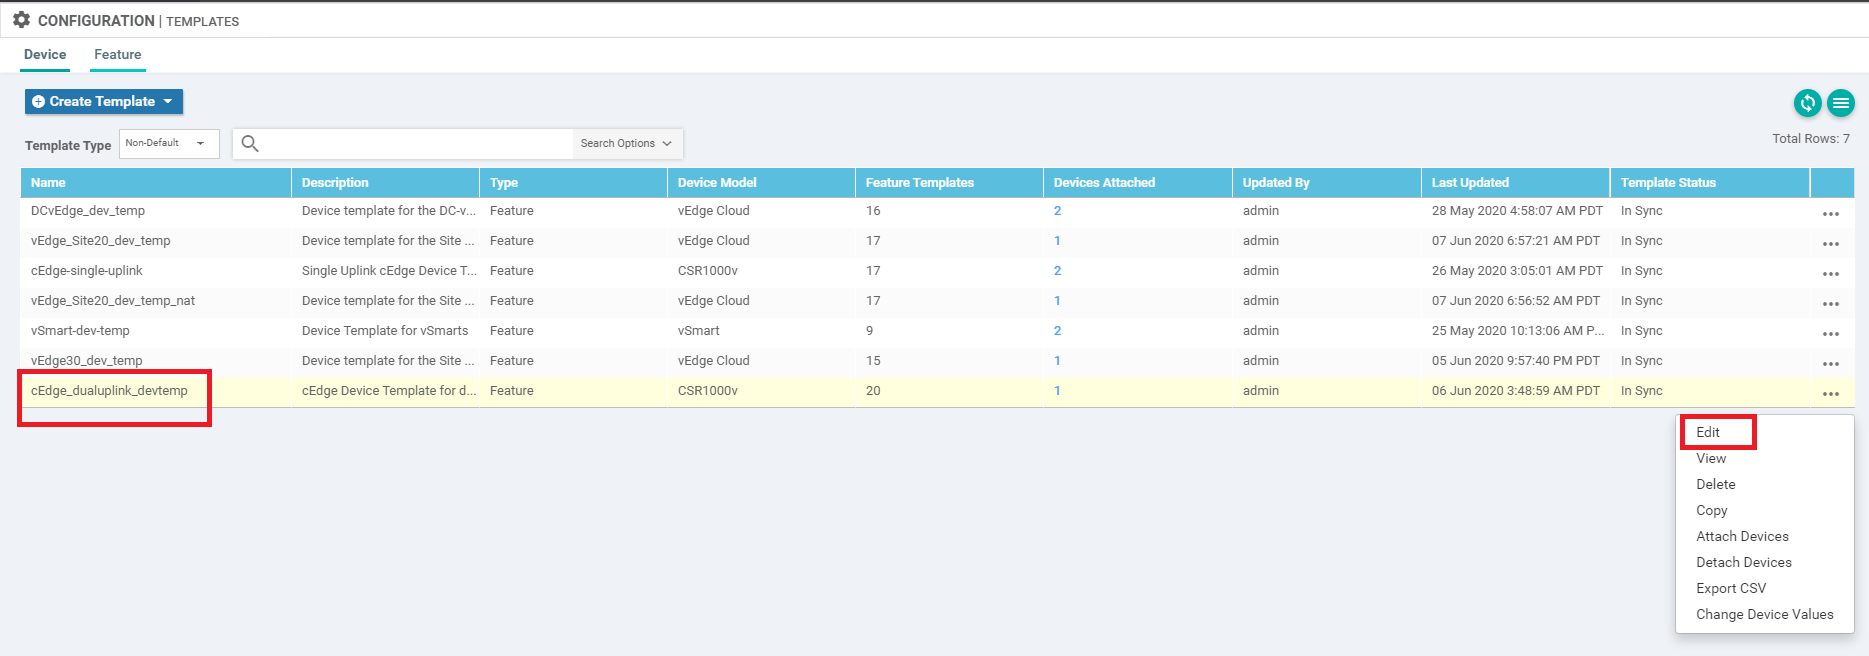
This policy is called in the Device Template. Navigate to Configuration => Templates and click on the three dots next to cedge_dualuplink_devtemp. Choose to Edit (we won’t be making any changes, just review)
-
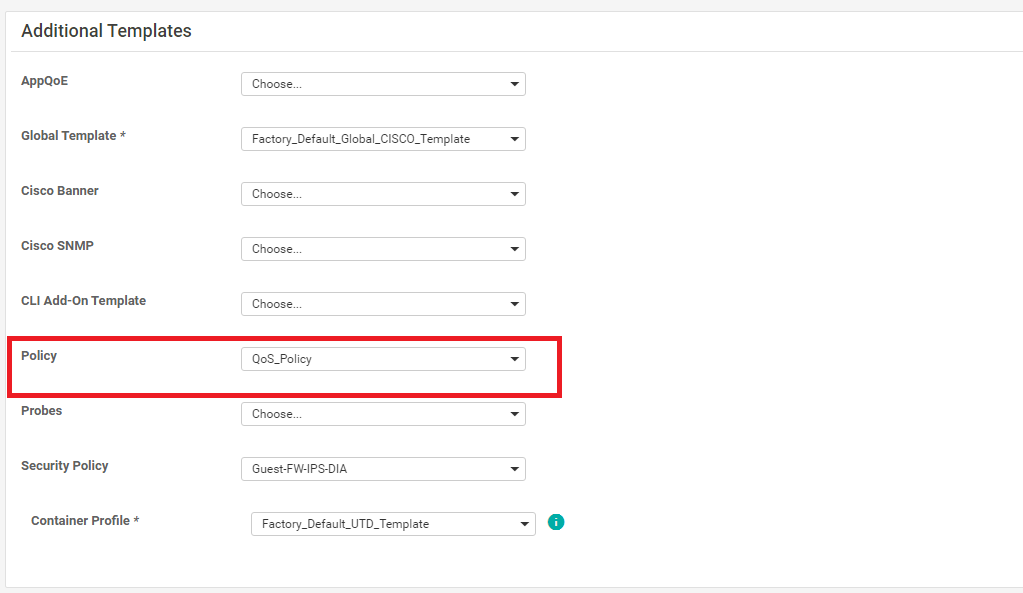
Under the Additional Templates section, we have the QoS_Policy Policy populated, which ensures that the cEdge40 device is configured for SD-AVC. Click Cancel to exit out of the Device Template
-
-
- Verification
Verification
-
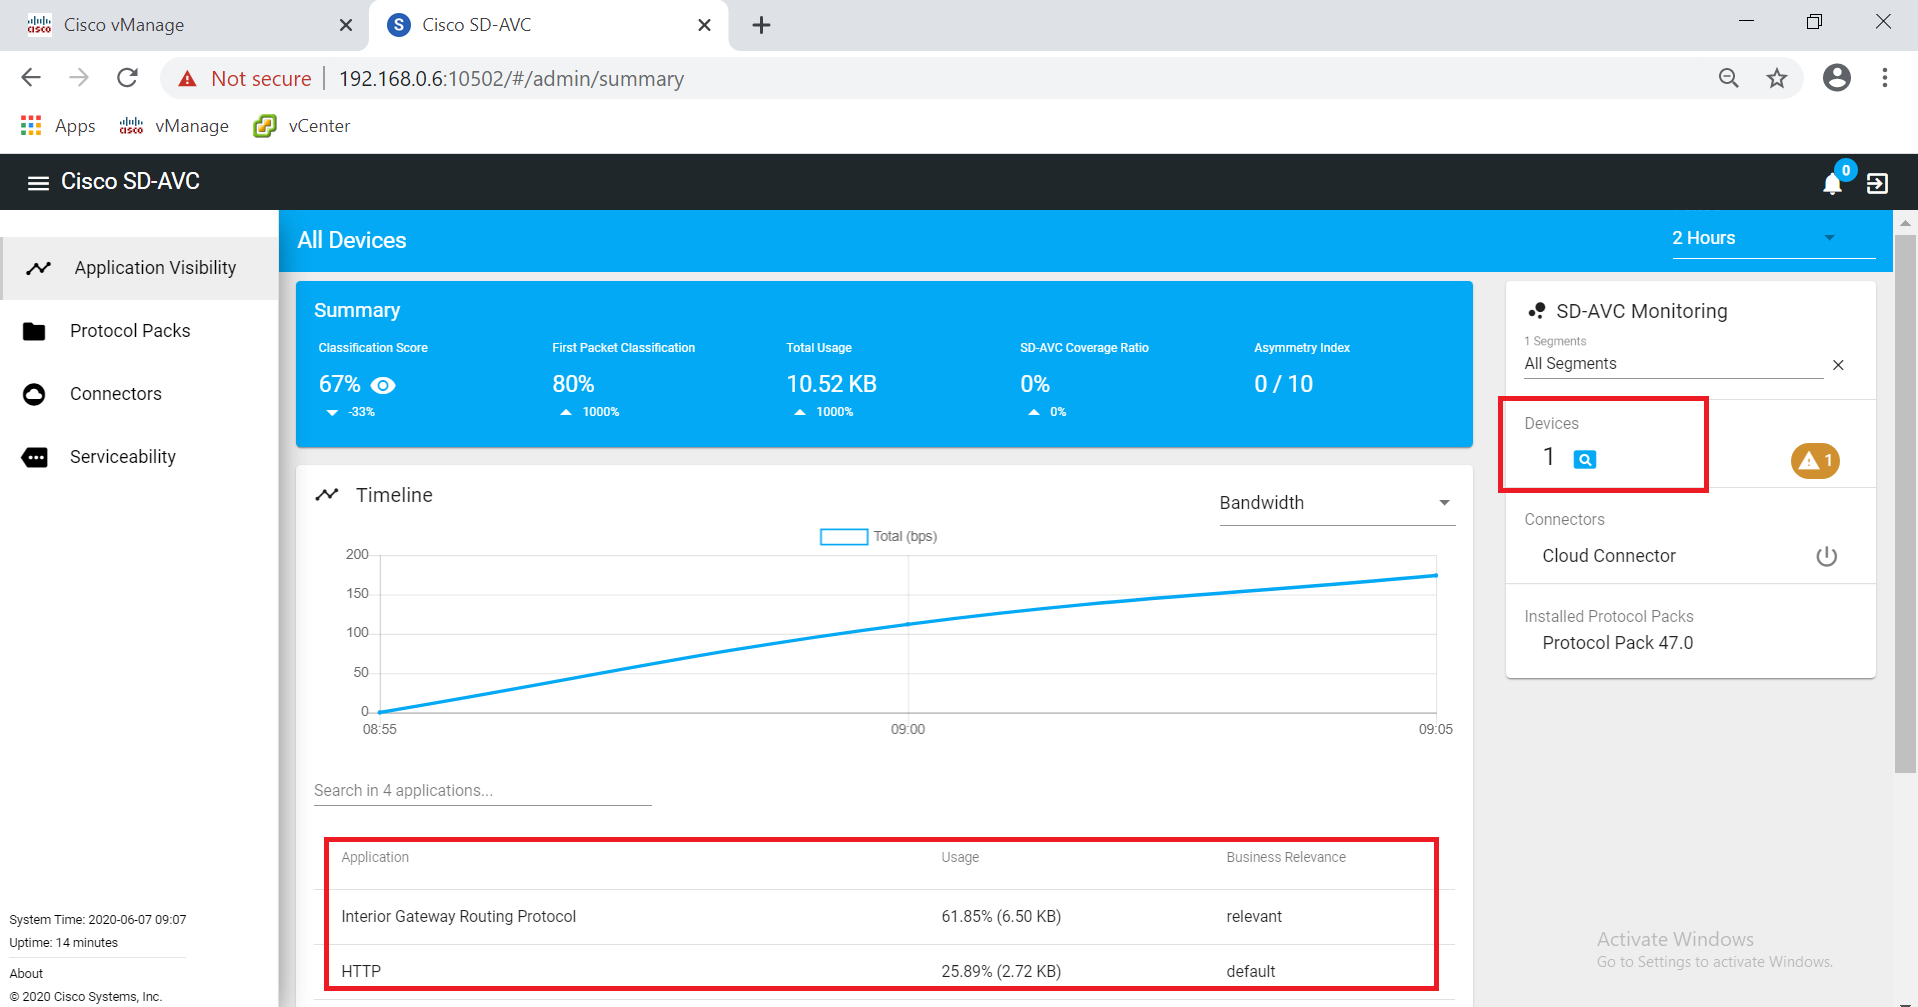
Open a new browser window/tab and navigate to https://100.100.100.2:10502/. This is the SD-AVC portal running as a container on vManage. Notice that one device is being monitored by SD-AVC and it is showing some traffic with the specific application layer protocol seen (output might vary). Click on the Devices 1 too view details about the Device
-
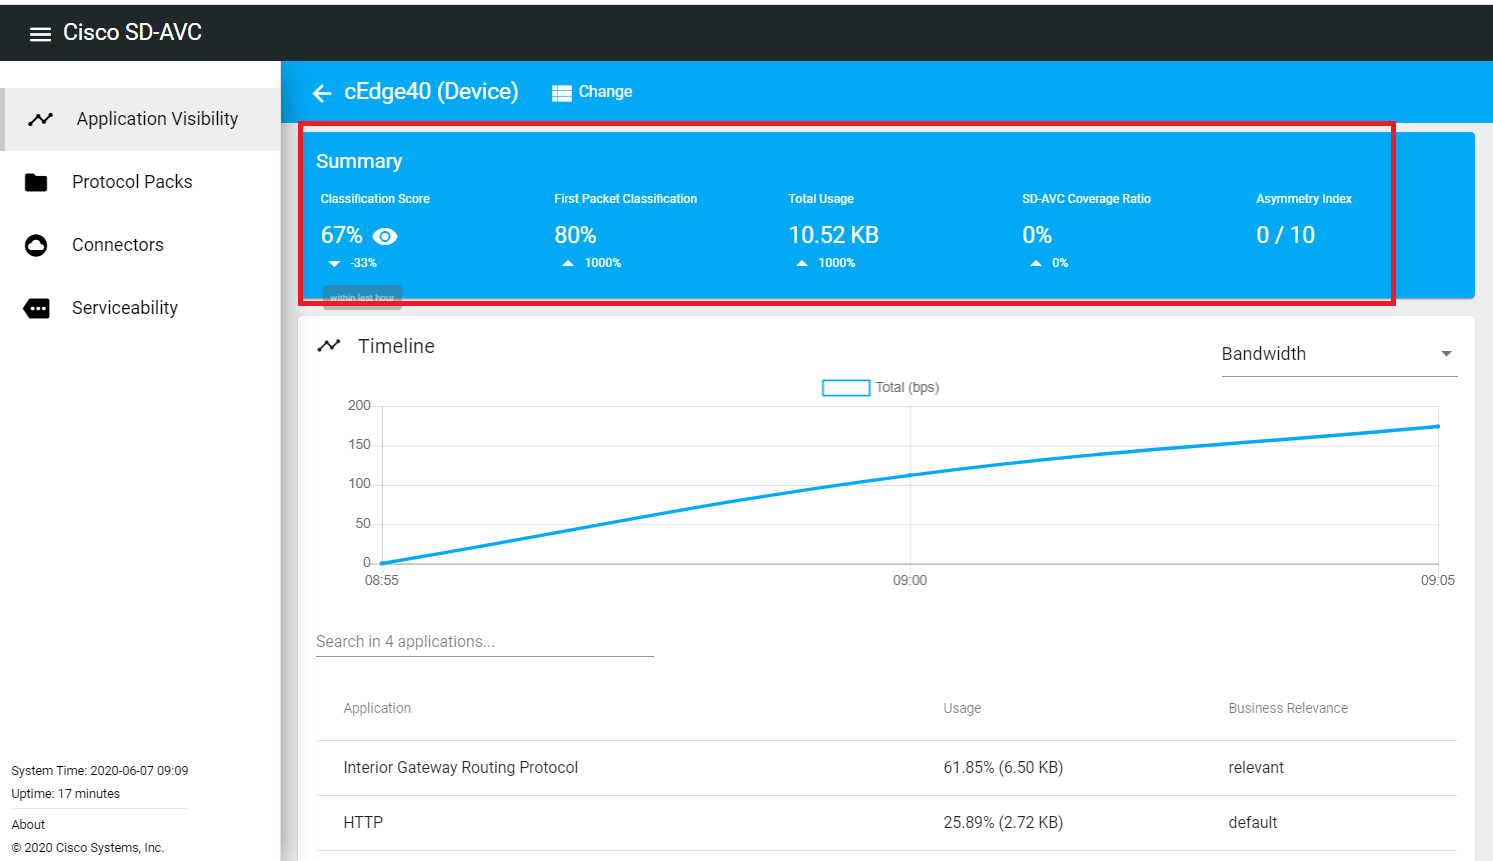
We are taken to the Device Specific AVC page for cEdge40. At the top, we have a summary of the statistics and insights from AVC’s standpoint
-
Log in to the CLI of cEdge40 via Putty and run the command
show avc sd-service info summary. You should see that the cEdge is connected to the SD-AVC controller, along with details of the controller
show avc sd-service info summary -
We can also run
show avc sd-service info connectto view detailed information about the connection to the Controller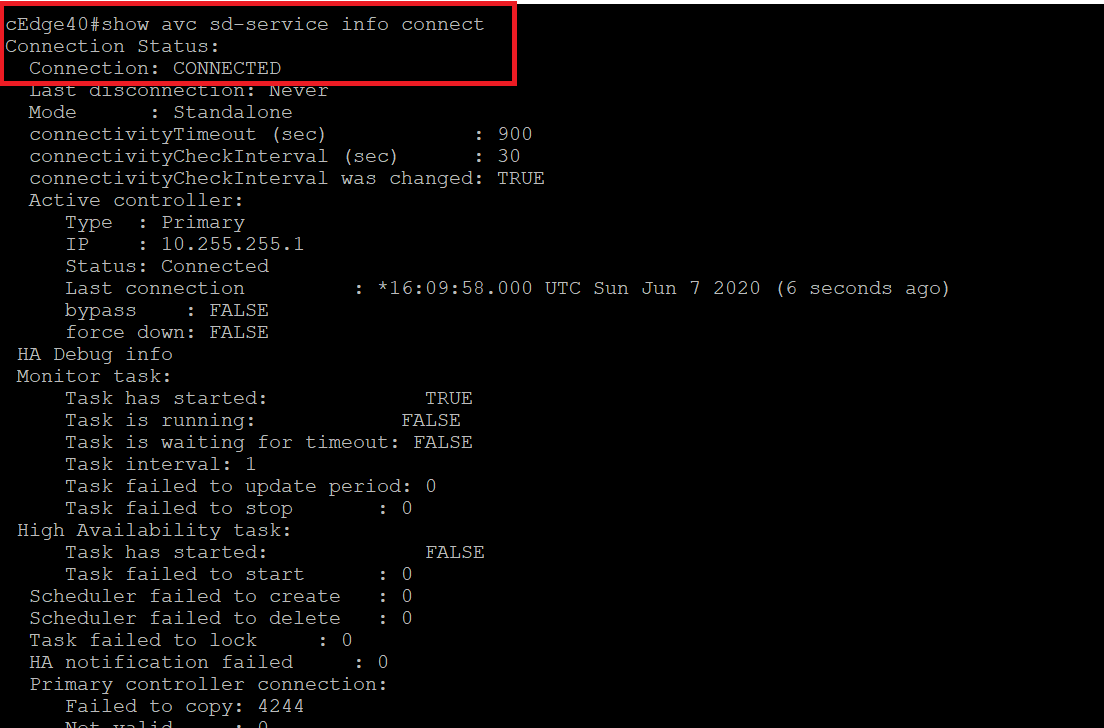
-
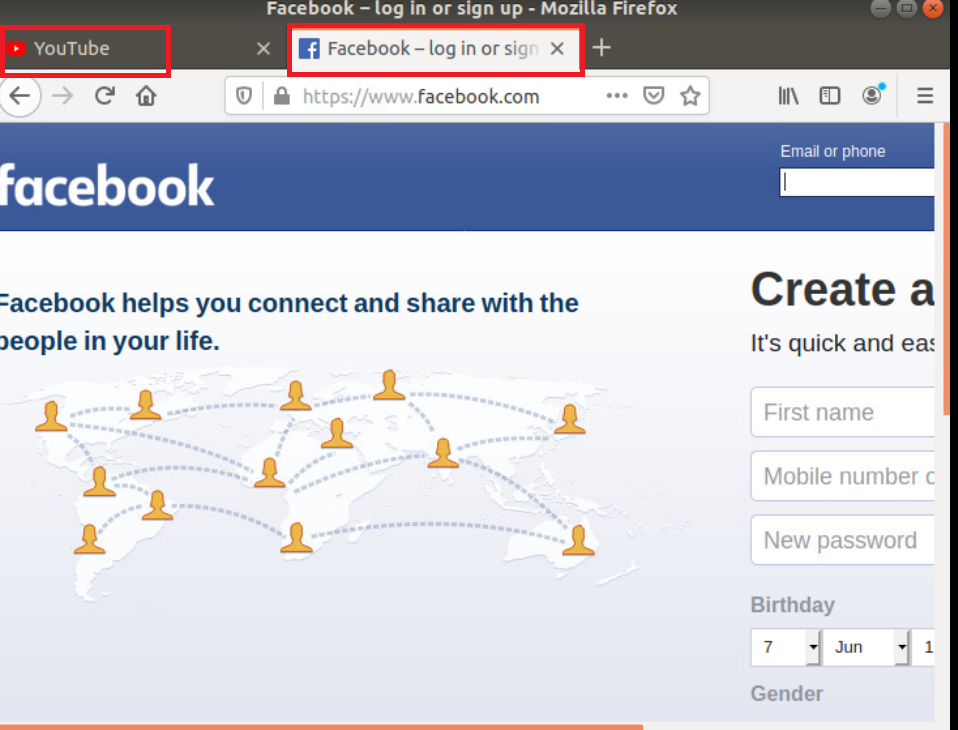
Log in to the Site40 PC by accessing vCenter (use the bookmark or access 10.2.1.50/ui if connected to the GHI DC and 10.1.1.50/ui if connected to the SJC DC). Log in using the credentials provided and click on the sdwan-sjc/ghi-site40pc-podX. Click on the console icon to open a Web Console. Open Firefox and go to youtube.com and facebook.com. For good measure, open about 4 tabs of these sites
-
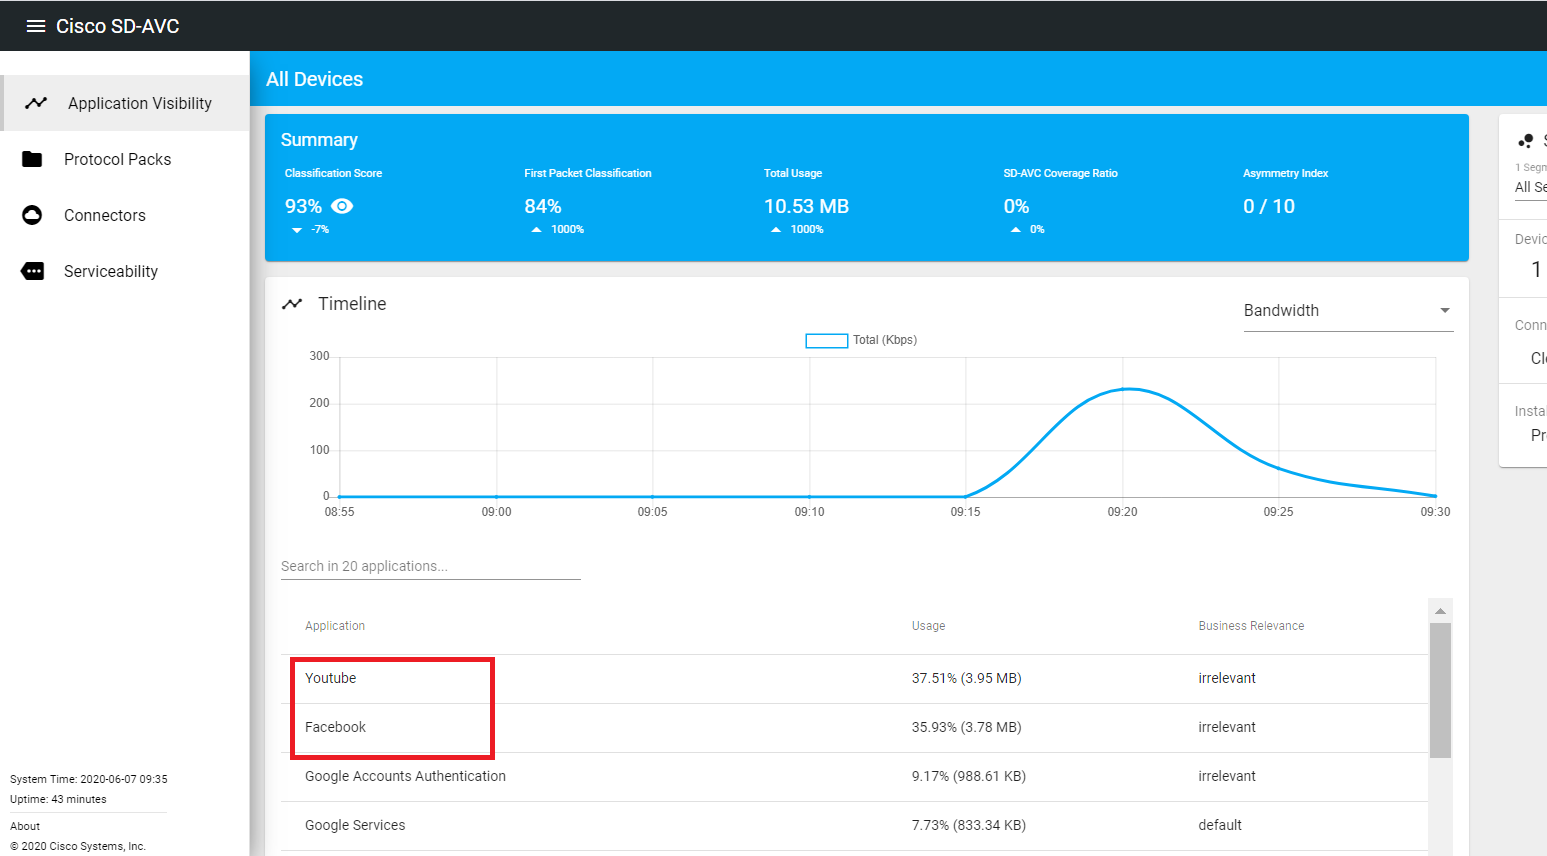
Once the sites have loaded, click on Application Visibility (top left-hand corner) and you should notice the AVC controller detect YouTube and Facebook traffic. This normally takes approximately 5 minutes to show up on the SD-AVC dashboard
-
This information can be viewed on vManage as well. From the vManage GUI, navigate to Monitor => Network. Click on cEdge40 and then click on DPI Applications. Choose the Web traffic and you will notice Youtube and Facebook traffic pop up over there with detailed statistics associated with the traffic. This might take some time to get populated - wait for about 15 minutes and use the refresh button
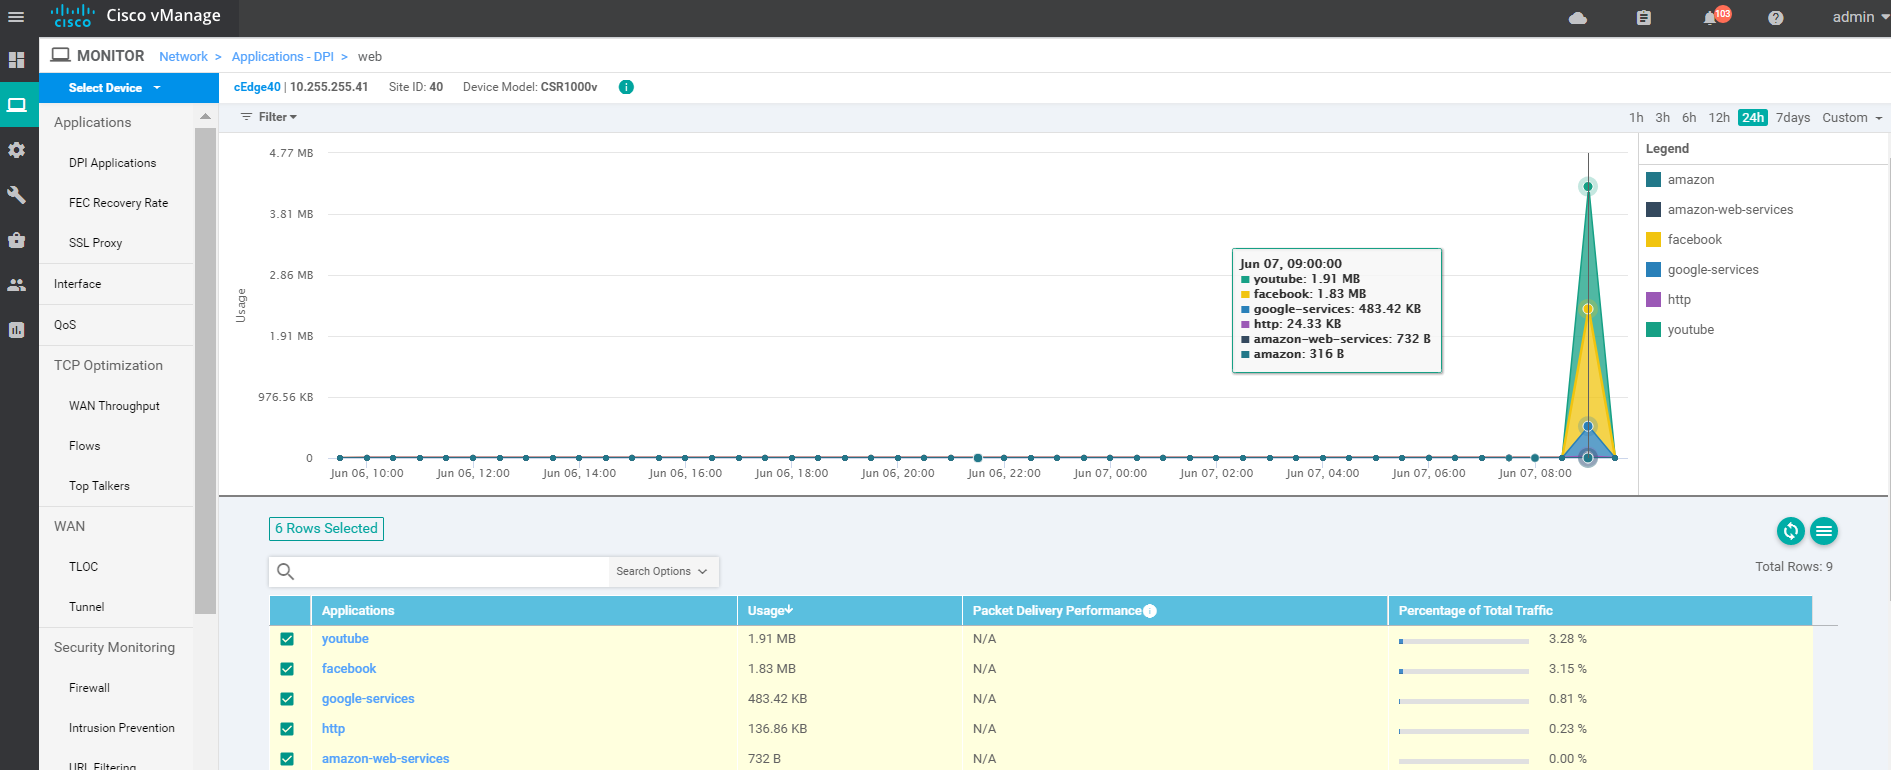
This completes SD-AVC setup and verification.