- Overview
- Creating and Activating a Policy
- Verification
Overview
We will now shift focus to setting up our DIA site at Site40. Guest users will connect on VPN 30 and we need to ensure they have access to the Internet. We will first verify that the PC at Site 40 does not have Internet access. The WAN Interface at Site 40 on public-internet will then be updated for NAT and a Policy will be applied (which will include a Data Prefix list and a Data Policy) to allow users on VPN 30 to access the Internet.
-
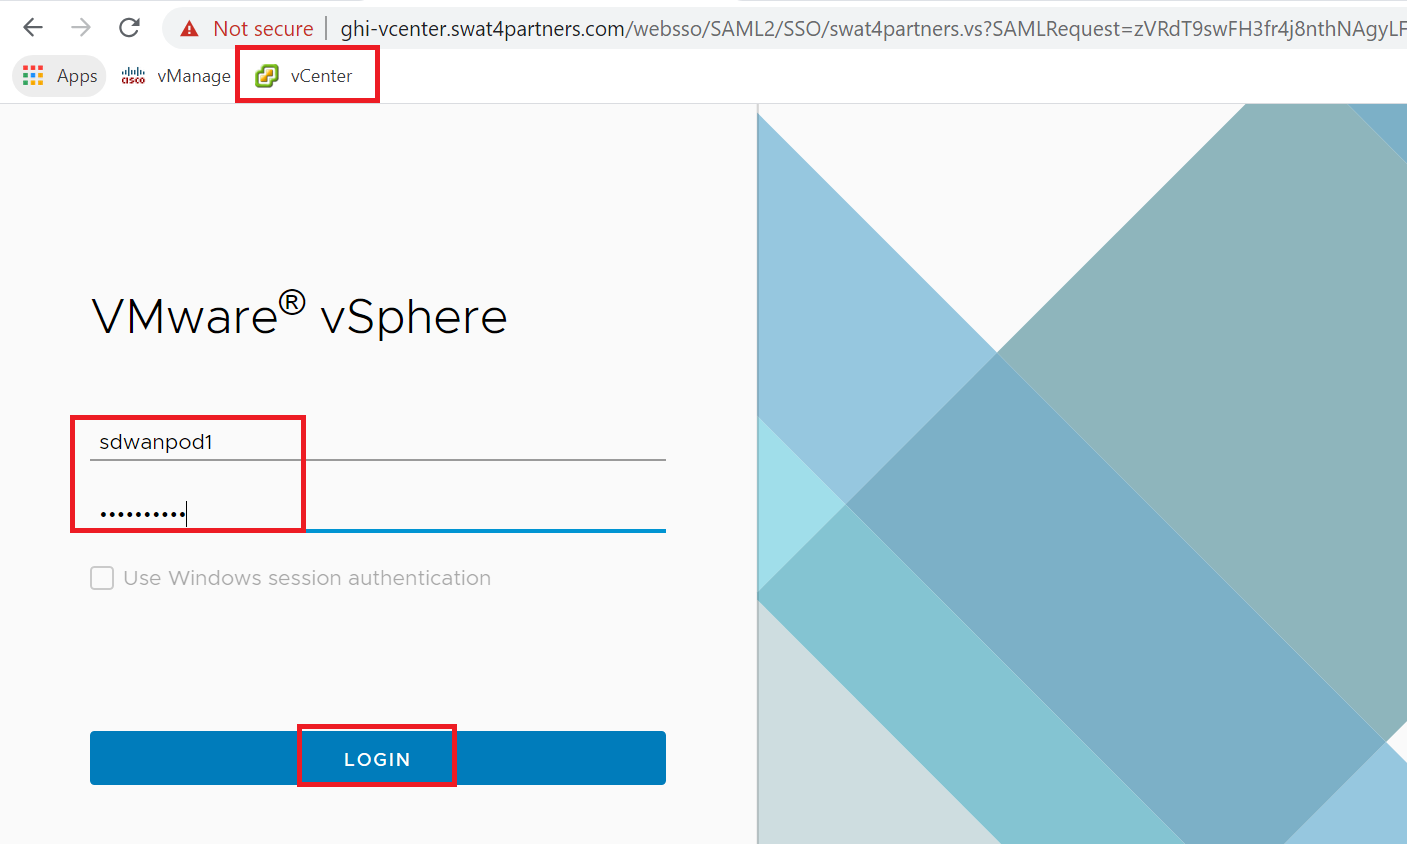
Click on the bookmark for vCenter in Google Chrome or navigate to https://10.2.1.50/ui if connected to the GHI DC and 10.1.1.50/ui if connected to the SJC DC. Enter the credentials provided for your POD and click on Login
-
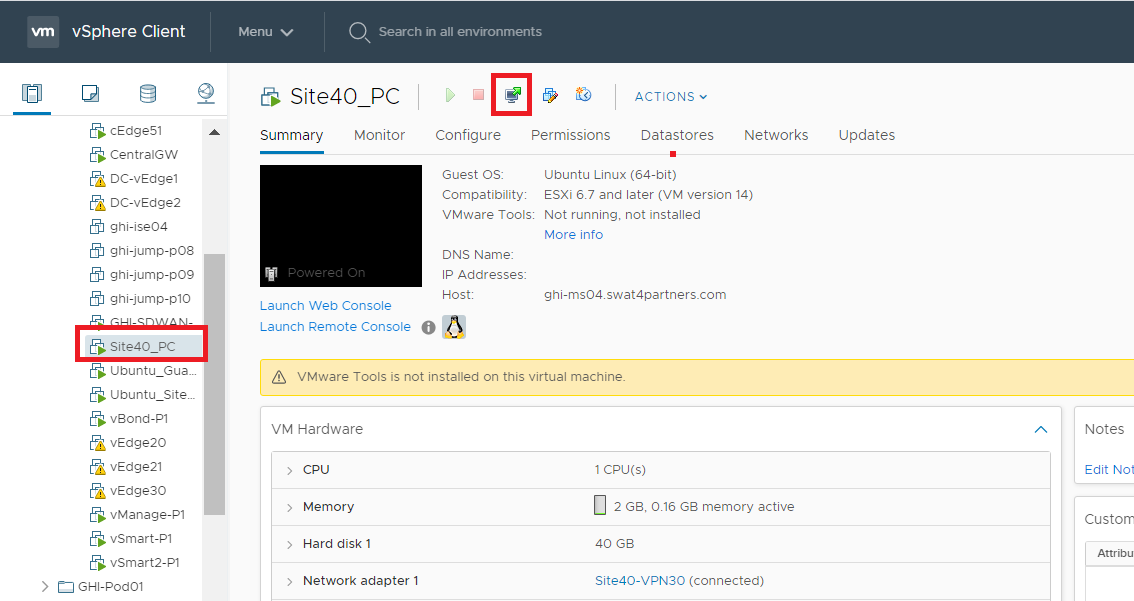
Locate the Site40 PC (it will be named sdwan-YYY-site40pc-podX where YYY are some characters and X is your POD number, image uses Site40_PC). Click on it and click on the icon to open a console session. Choose to open the Web Console, if prompted
-
Navigate to the console window/tab and click on the sdwan user to log in. The password is C1sco12345
Note: If the machine hangs at the login window and doesn’t show the Ubuntu Desktop, please power off and power on the Site40PC VM for your POD from vCenter.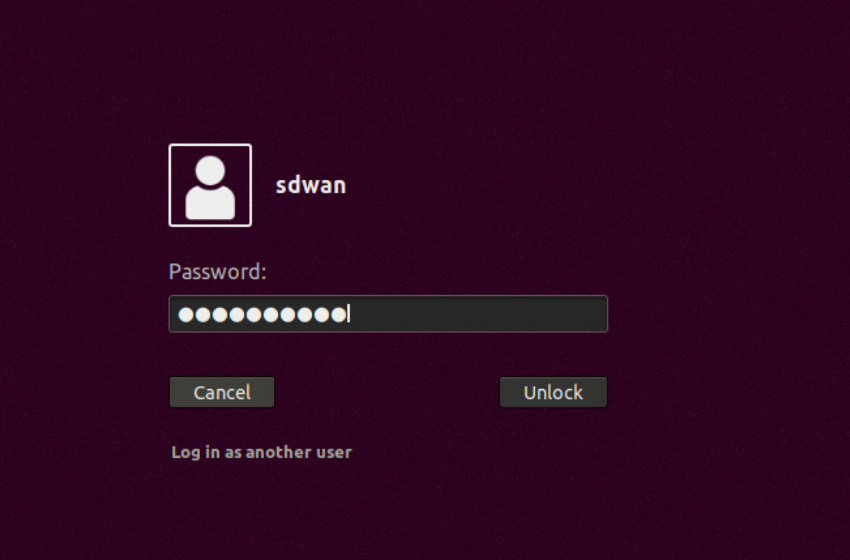
-
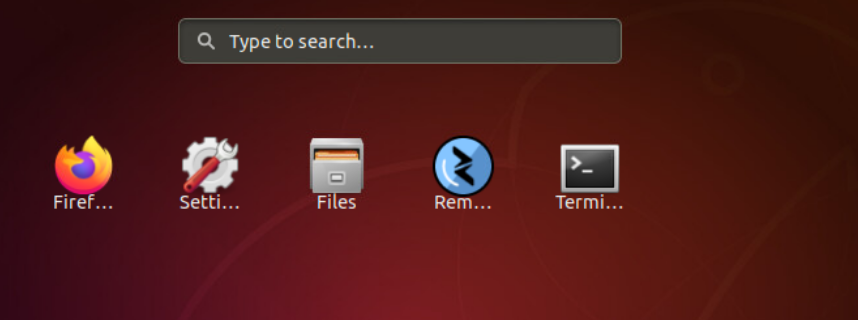
Click on the Ubuntu equivalent of the Start button - it’s the button in the bottom left hand corner and search for terminal. Open the terminal application
-
Type
ping 8.8.8.8and hit Enter. Pings should fail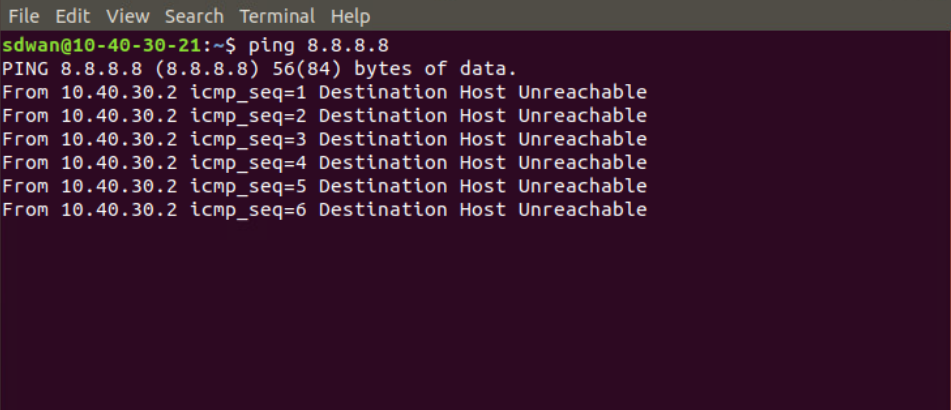
We have thus verified that the Guest VPN user (with an IP of 10.40.30.21) doesn’t have internet access.
Creating and Activating a Policy
We will start by enabling NAT on the Internet interface and then continue with our Policy.
-
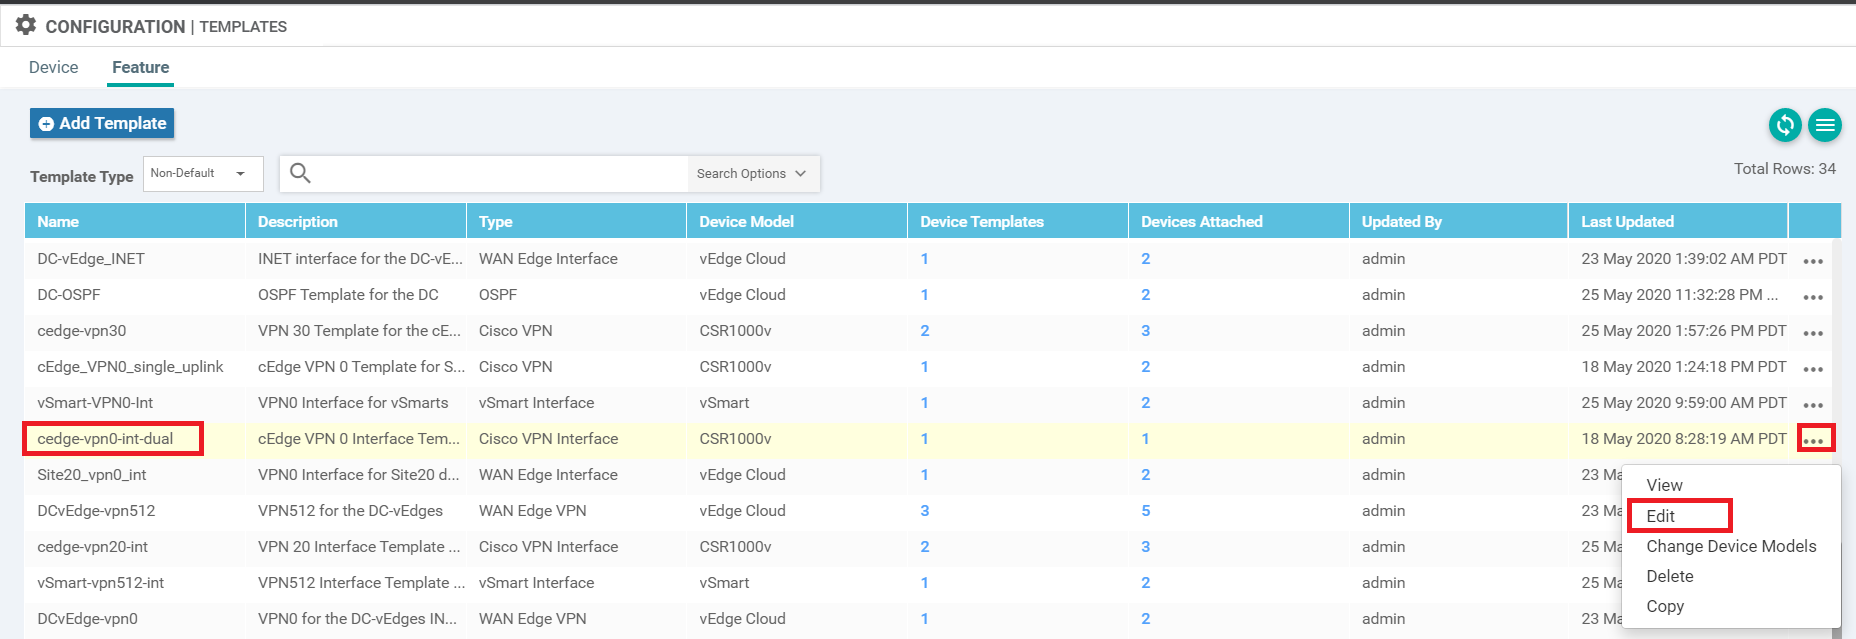
On the vManage GUI, navigate to Configuration => Templates => Feature Tab. Locate the cedge-vpn0-int-dual template created before and click on the three dots next to it. Choose to Edit the template
-
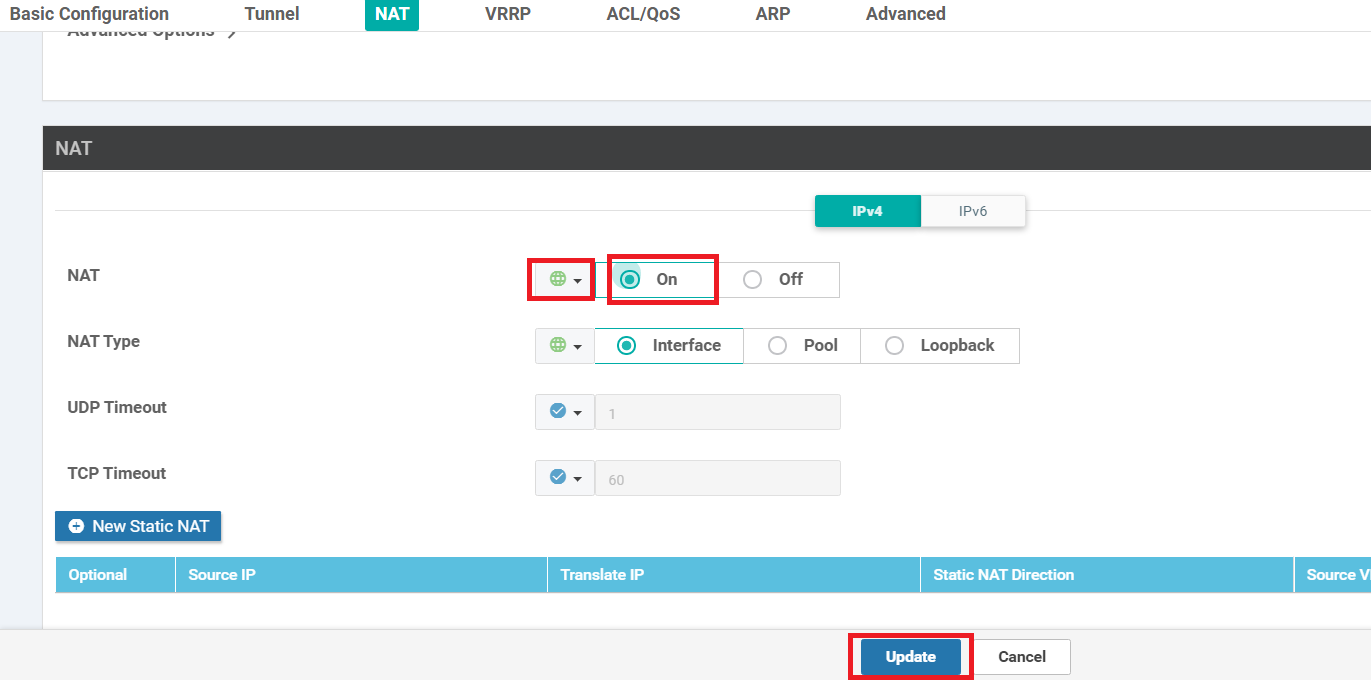
Scroll down to the NAT section and set NAT to a Global value of On. Click on Update
-
Click on Next since we don’t need to change anything on the device settings and then click on Configure Devices. You can view the side-by-side configuration if you want to

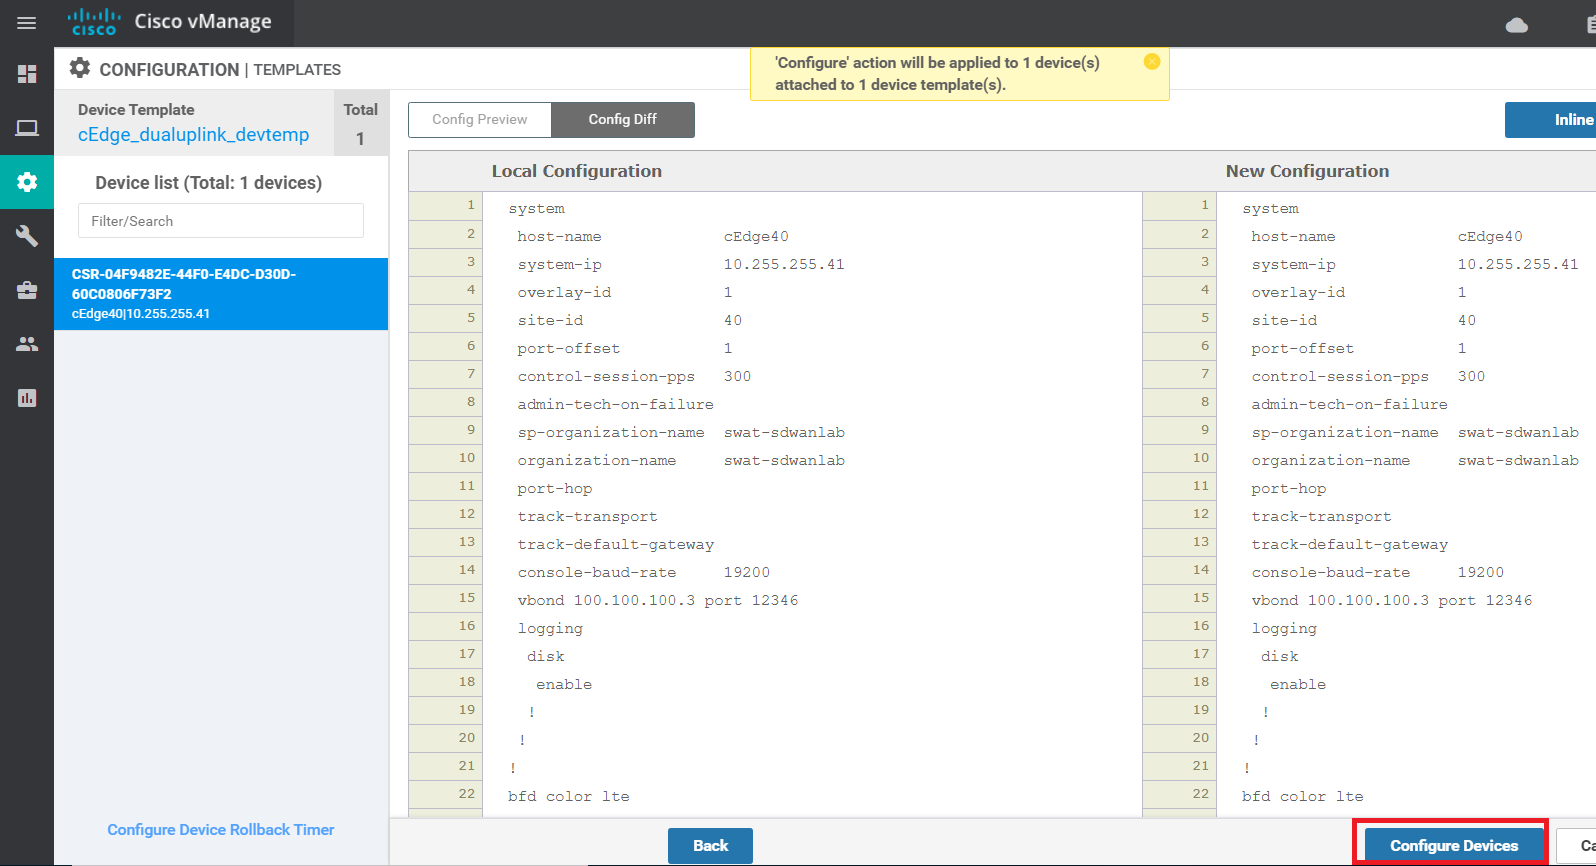
NAT should now be enabled on the public-internet transport
-
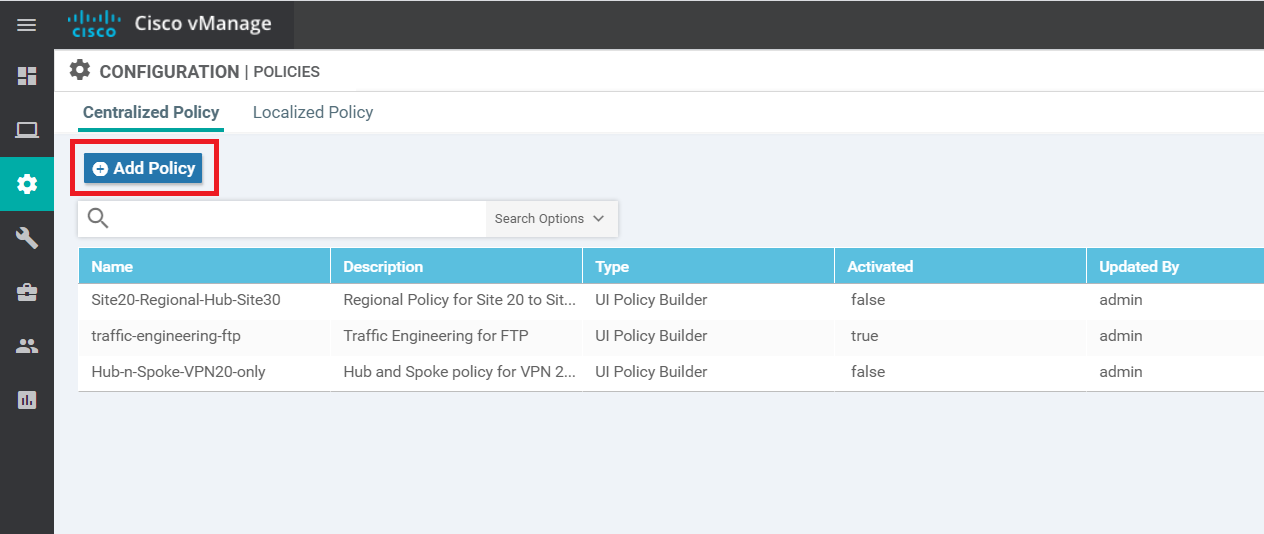
Navigate to Configuration => Policies on the vManage GUI and click on Add Policy
-
Select Data Prefix List on the left-hand side under Create Groups of Interest and choose New Data Prefix List. Give it a name of Guest-Site40 and specify the Add Data Prefix as 10.40.30.0/24. Click on Add and then click on Next (please click on Add BEFORE clicking on Next else the Data Prefix List will not get added)

Click on Next on the Configure Topology and VPN Membership screen.
-
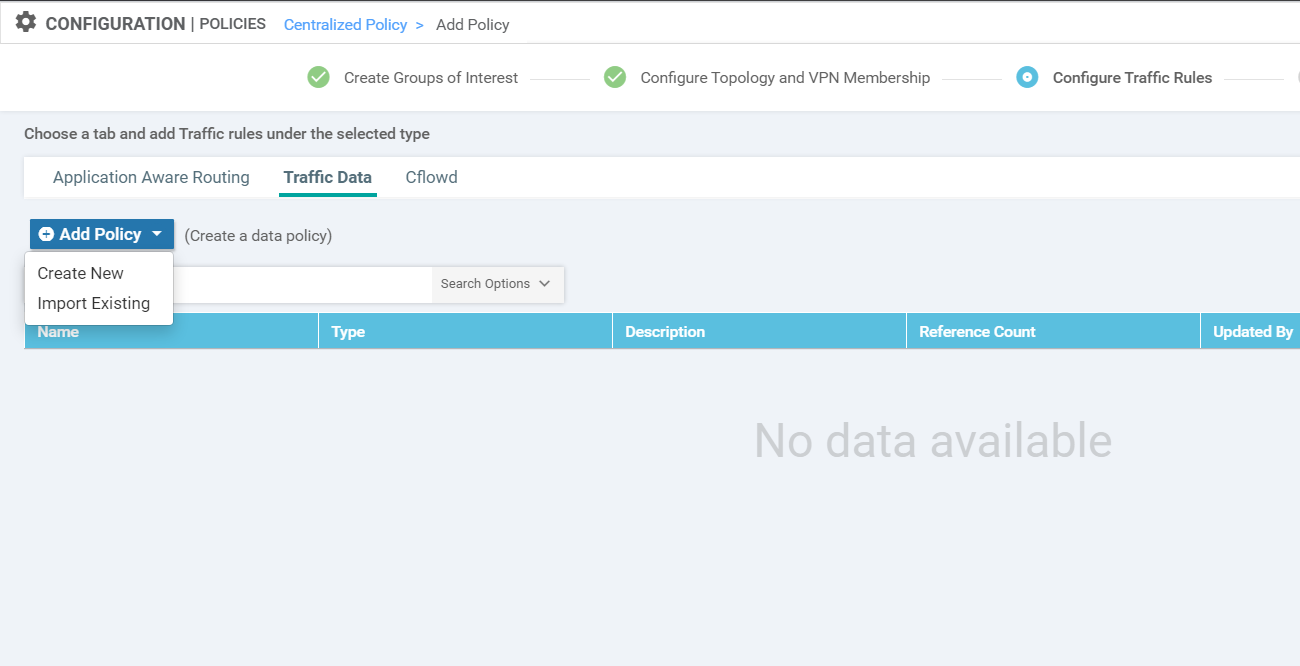
On the Configure Traffic Rules screen, click on the Traffic Data tab and choose Add Policy. Click on Create New
-
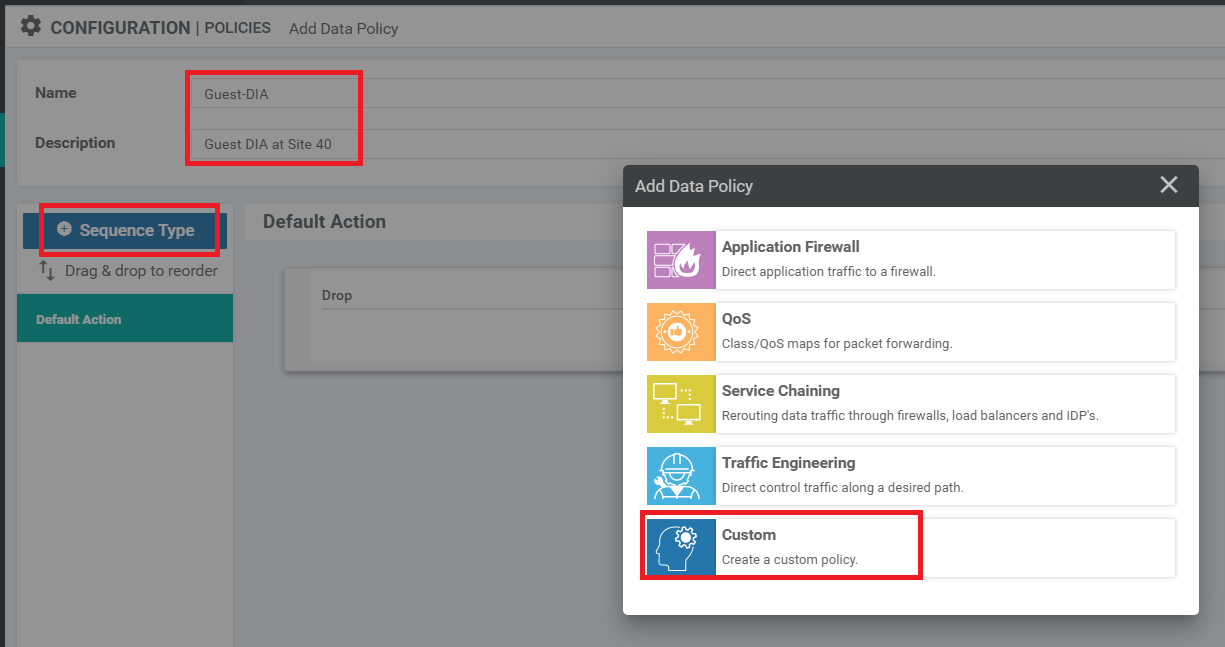
Give the Data Policy a name of Guest-DIA with a Description of Guest DIA at Site 40. Click on Sequence Type and choose Custom
-
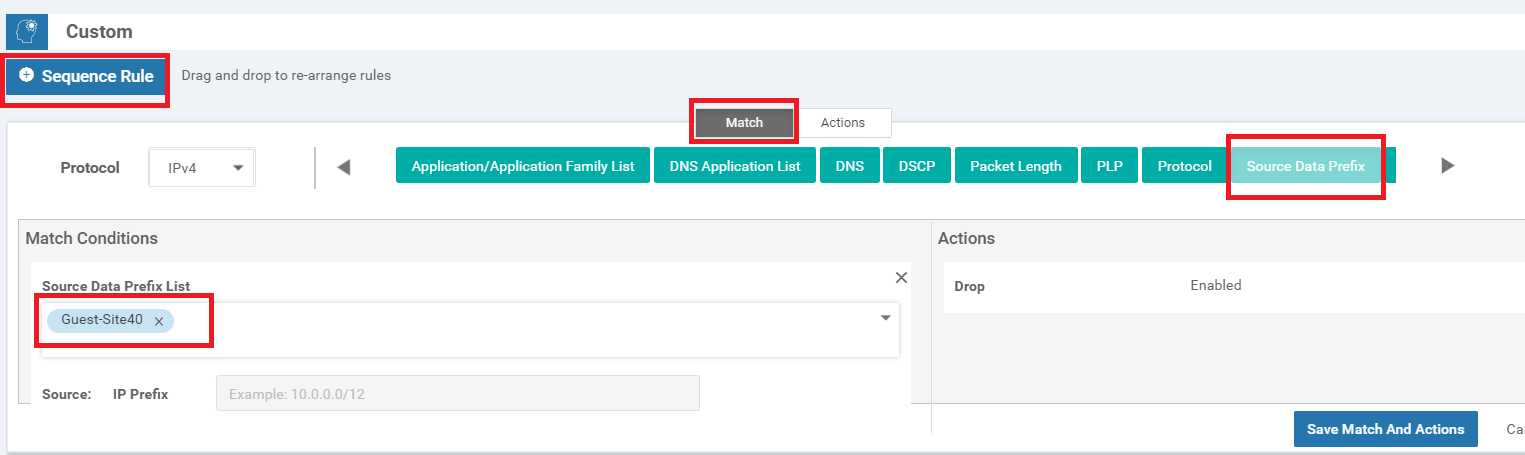
Click on Sequence Rule and select Source Data Prefix under Match. Populate Guest-Site40 in the Source Data Prefix List (we just created this Data Prefix list)
-
Click on the Actions tab and choose the Accept radio button. Select NAT VPN and click on Save Match and Actions

-
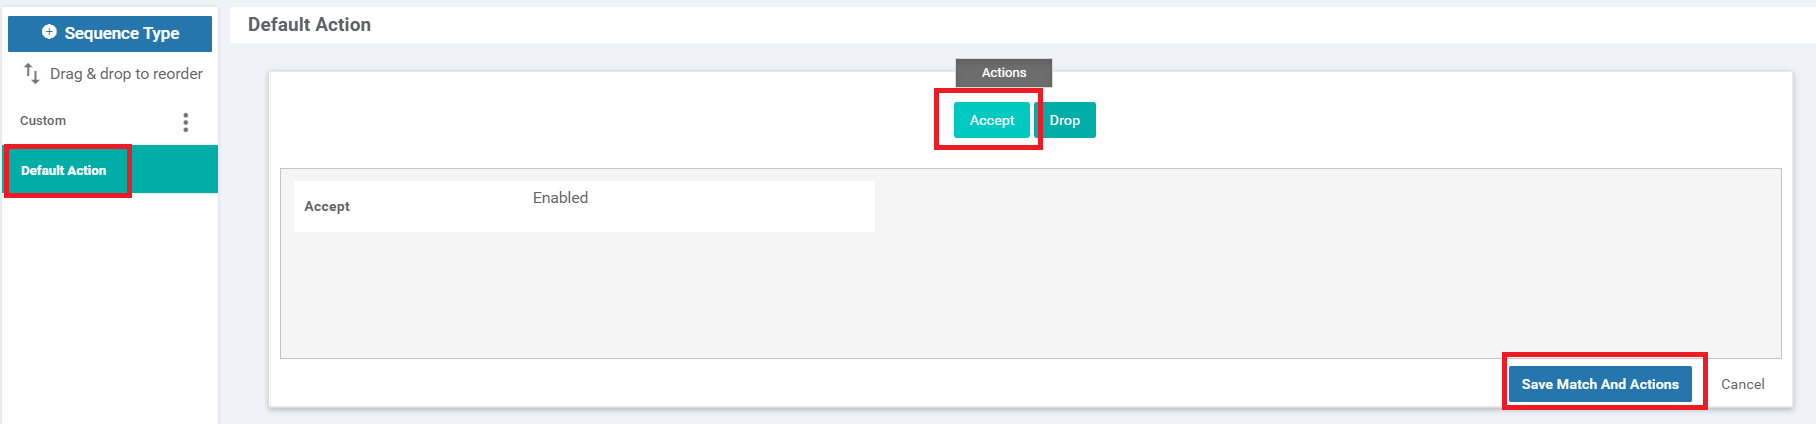
Click on Default Action over on the left-hand side and choose Accept. Click on Save Match and Actions
-
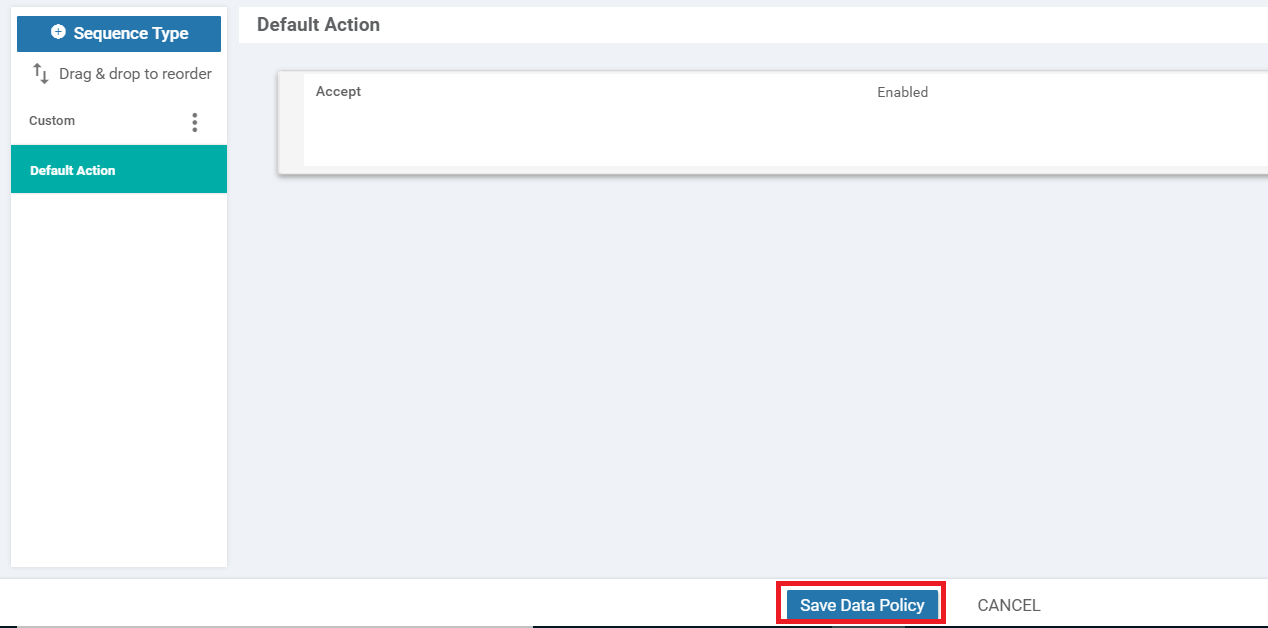
Click on Save Data Policy
-
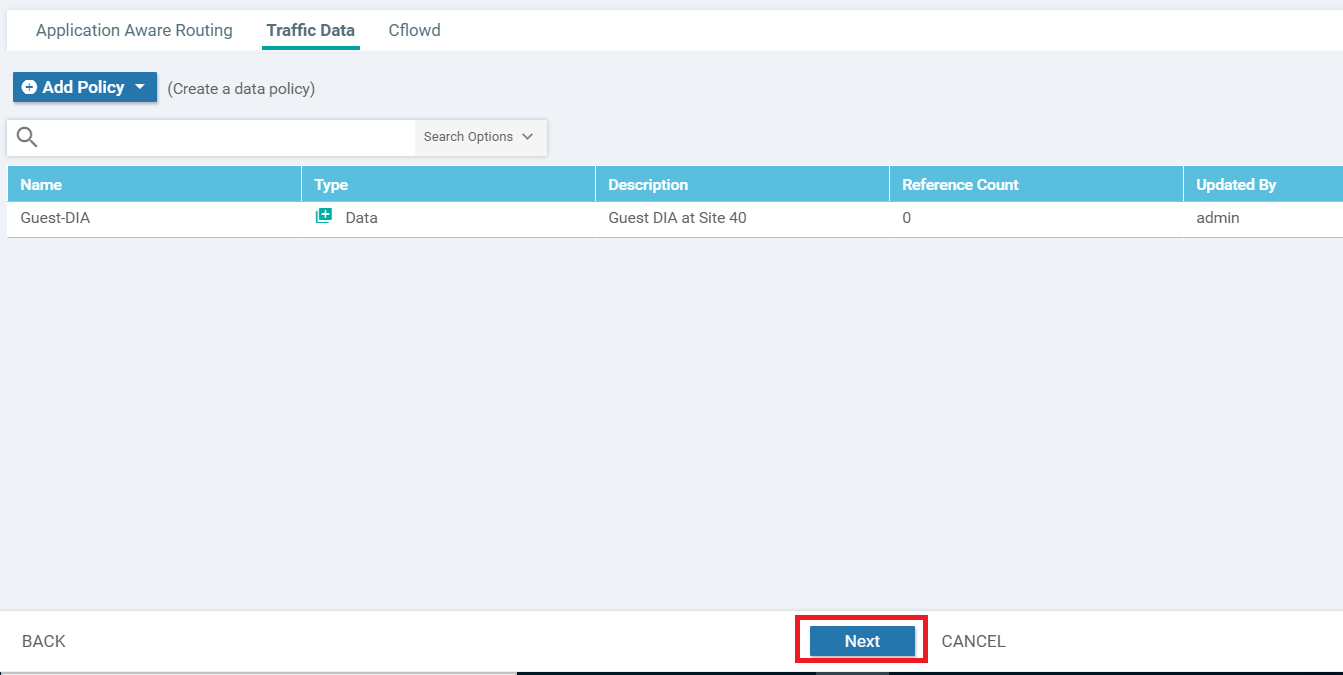
Make sure the Data Policy we just added shows up and click on Next
-
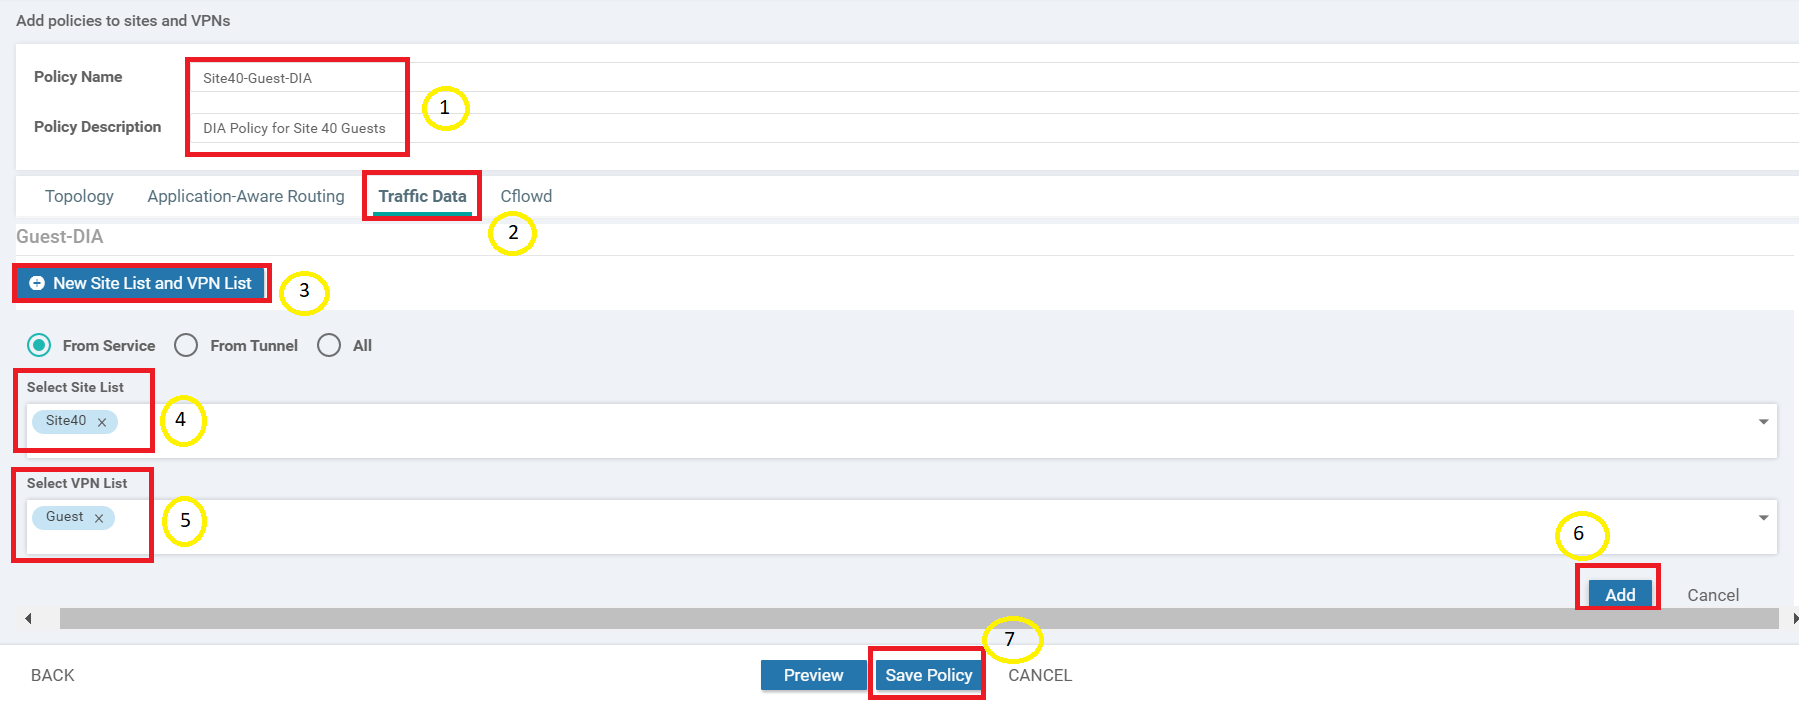
Enter the Policy Name as Site40-Guest-DIA and a Description of DIA Policy for Site 40 Guests. Click on the Traffic Data tab and choose New Site List and VPN List. Leave the radio button on From Service and choose Site40 under Select Site List. Choose Guest under Select VPN List. Click on Add. Once added, click on Save Policy
-
Locate your Site40-Guest-DIA and click on the three dots next to it. Choose to Activate the policy

This completes the configuration of our DIA Policy.
Verification
-
To verify, log in to vCenter and Console to the Site40 PC, as enumerated in the Overview section. On Terminal, enter
ping 8.8.8.8. The pings should succeed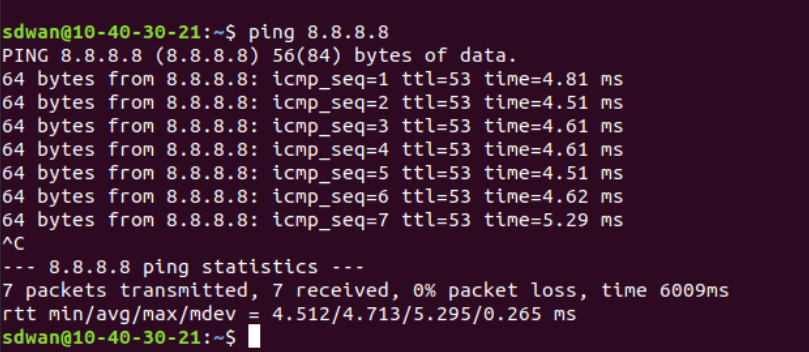
-
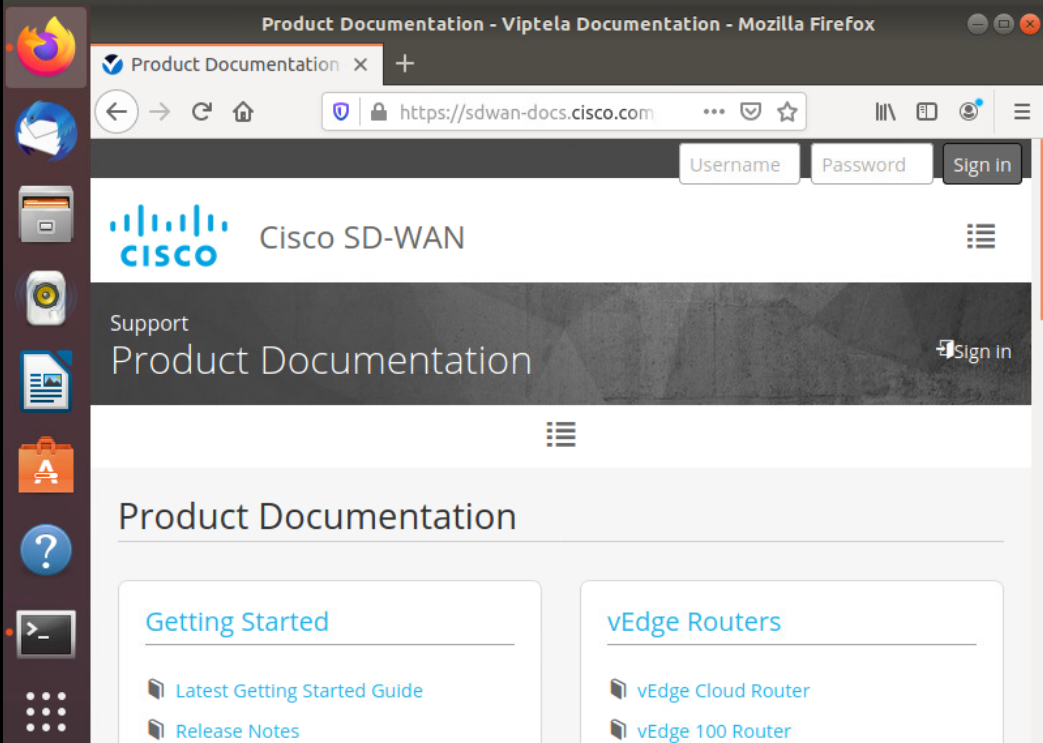
Click on the Mozilla Firefox icon on the Site40 PC and try to browse to sdwan-docs.cisco.com (or any other website). It should work