- Overview
- Updating the vEdge Service VPN 10 with an OSPF Template
- Activity Verification
Overview
Sites in Cisco SD-WAN will generally have an L3 device on the LAN other than the vEdges/cEdges. These devices might be servicing LAN users and advertising their routes via an IGP of choice. We need to make sure that these routes are advertised across the SD-WAN Fabric. While static routing can be used to achieve this, it is time consuming and extremely prone to errors. Thus, running a Dynamic Routing Protocol between the WAN Edge devices and the L3 devices, is usually preferred.
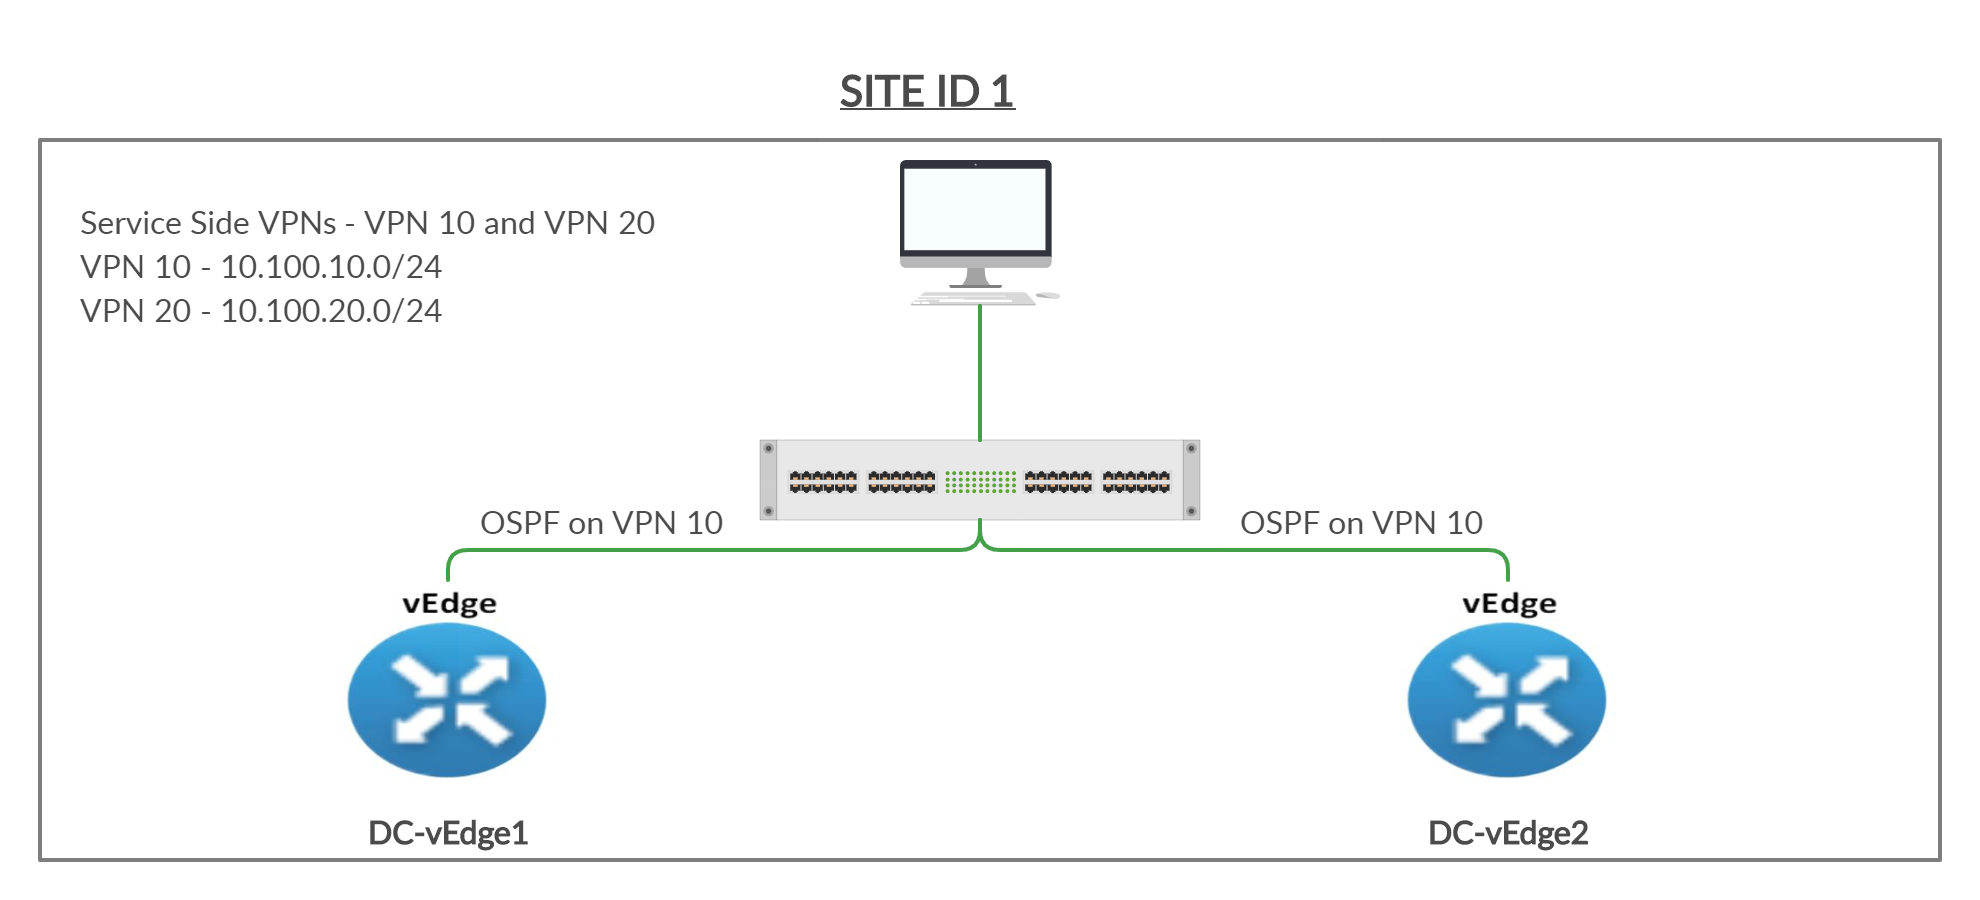
We will run OSPF on VPN 10 in the DC with an L3 Device (called the Central Gateway). The Central Gateway has been configured with the corresponding OSPF configuration. Once OSPF neighbourship is established between the Central Gateway and our DC-vEdges, we will try to reach a route being advertised by the Central Gateway (10.0.0.1/32) from vEdge30.
Given below is the section of the topology that we will be working on for this activity.
-
- Updating the vEdge Service VPN 10 with an OSPF Template
- Activity Verification
Updating the vEdge Service VPN 10 with an OSPF Template
-
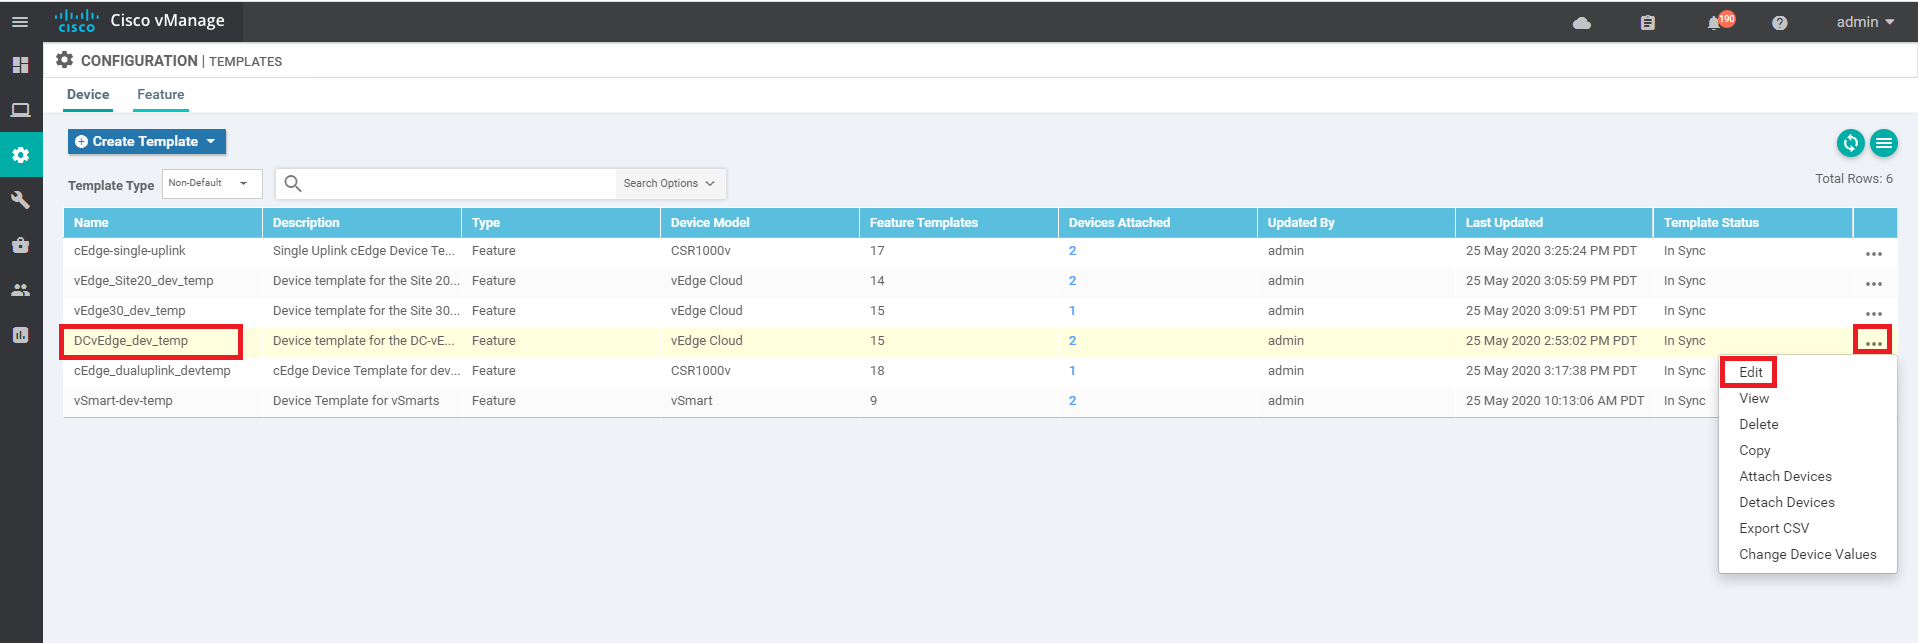
Go to Configuration => Templates and click on the three dots next to DCvEdge_dev_temp. Click on Edit
-
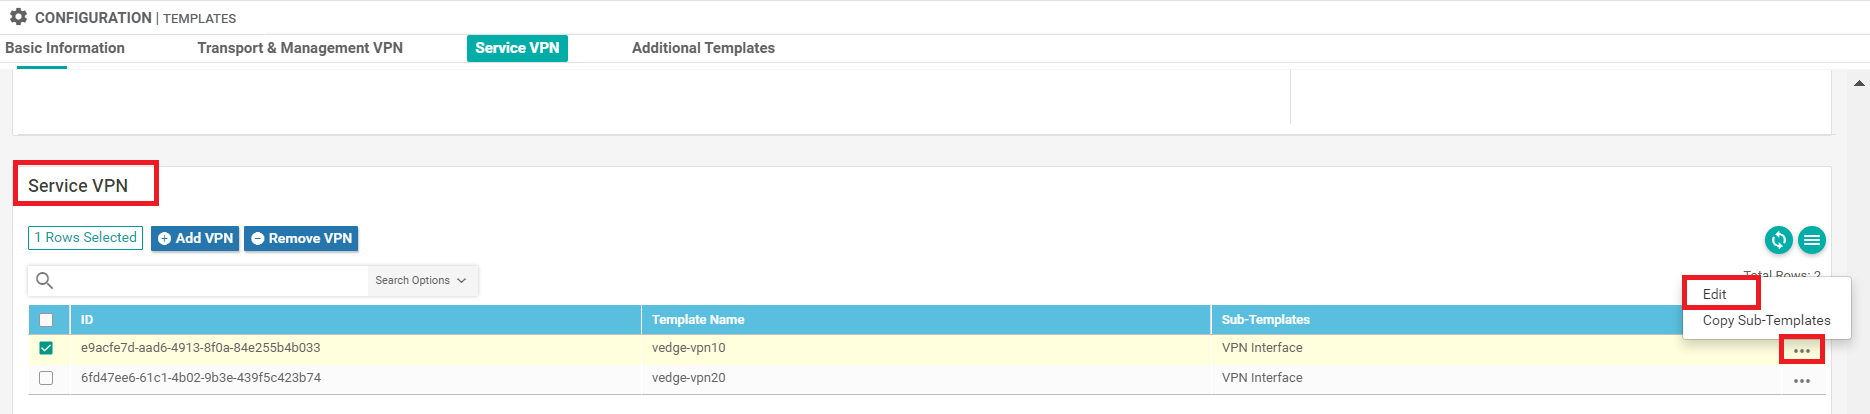
Under Service VPN, click on the three dots next to the vedge-vpn10 template and choose to Edit it
-
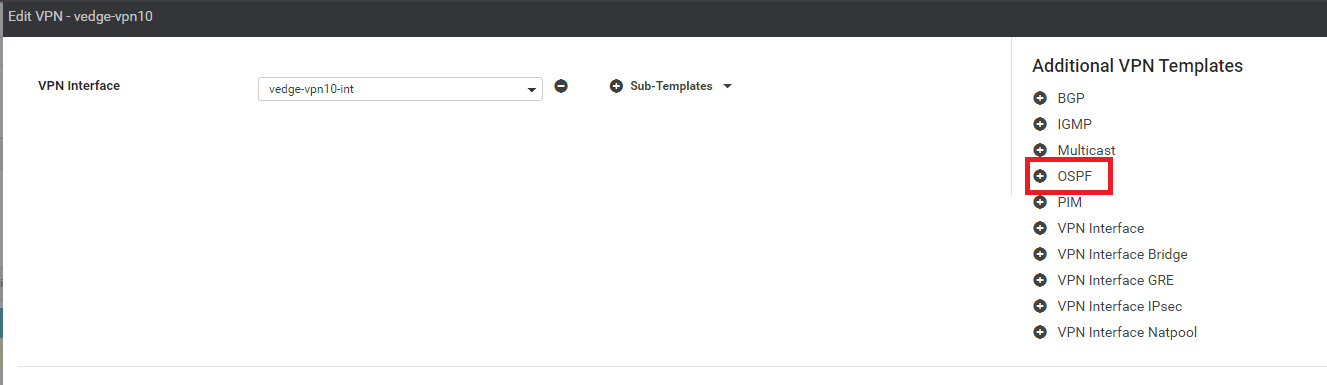
Click on OSPF under Additional VPN Templates to add an OSPF Template
-
Click on the OSPF drop down and click on Create Template to create a new OSPF Template. We are creating our Templates on the fly over here, but could have created them before hand from the Feature Templates, if required

-
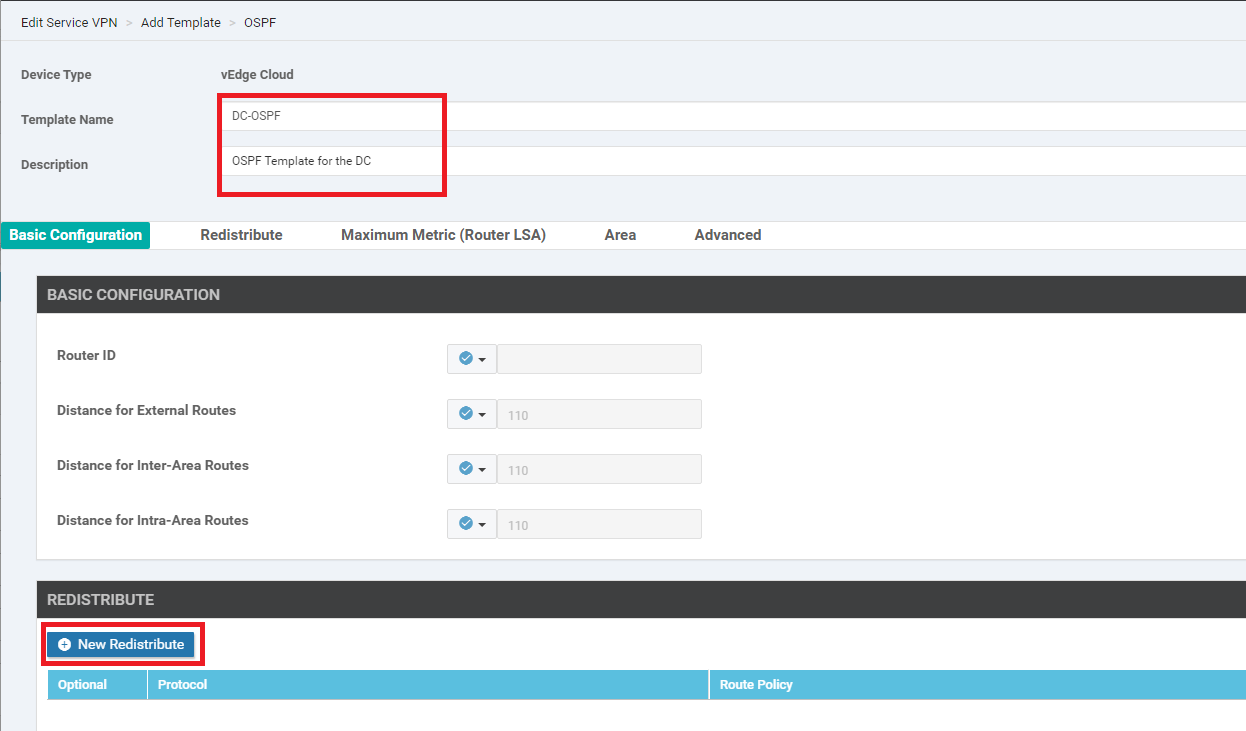
Give the template a name of DC-OSPF and a Description of OSPF Template for the DC. Click on New Redistribute under the Redistribute section
-
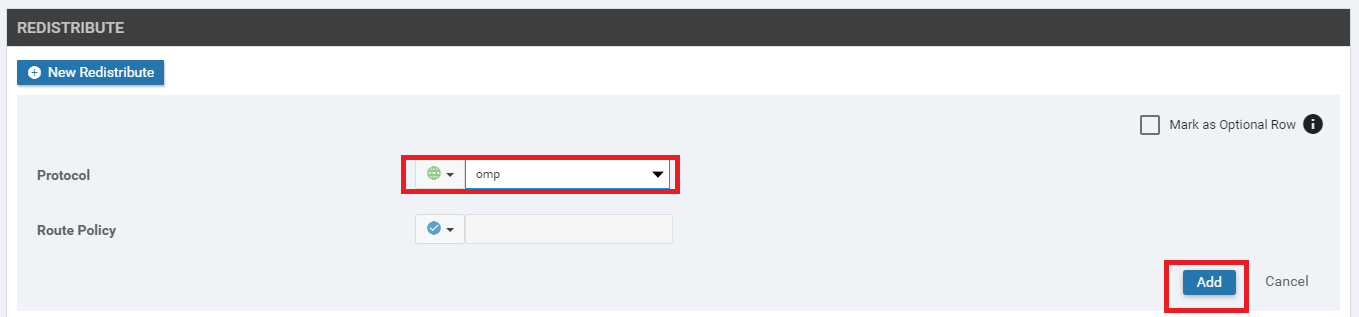
No routes get redistributed into OSPF but we want to ensure that WAN Routes are advertised into the DC LAN. For this purpose, choose OMP and click on Add. This will redistribute OMP routes into OSPF
-
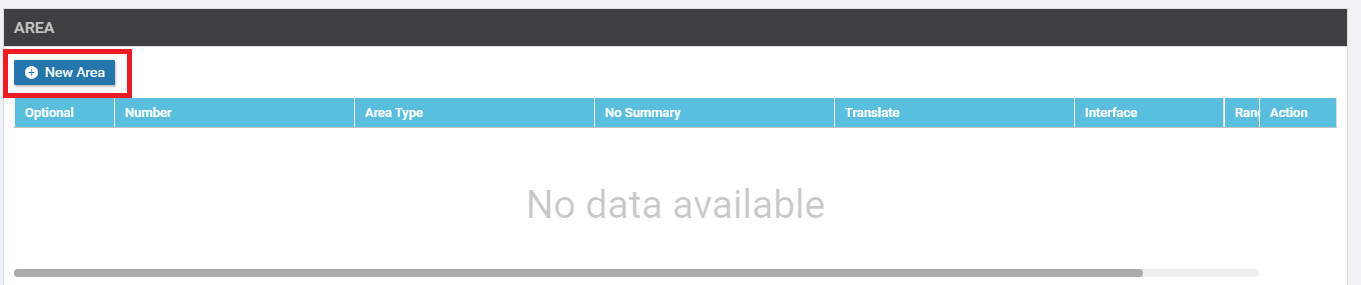
Under the Area section, click on New Area
-
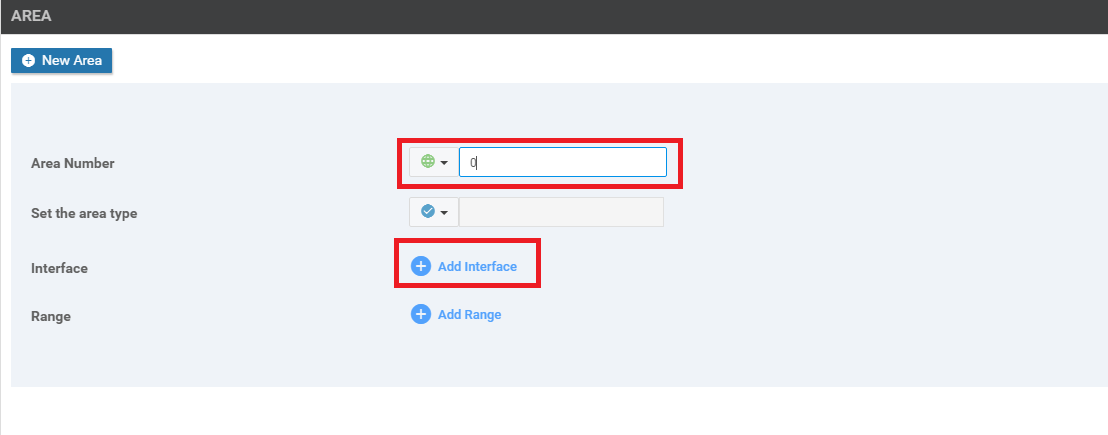
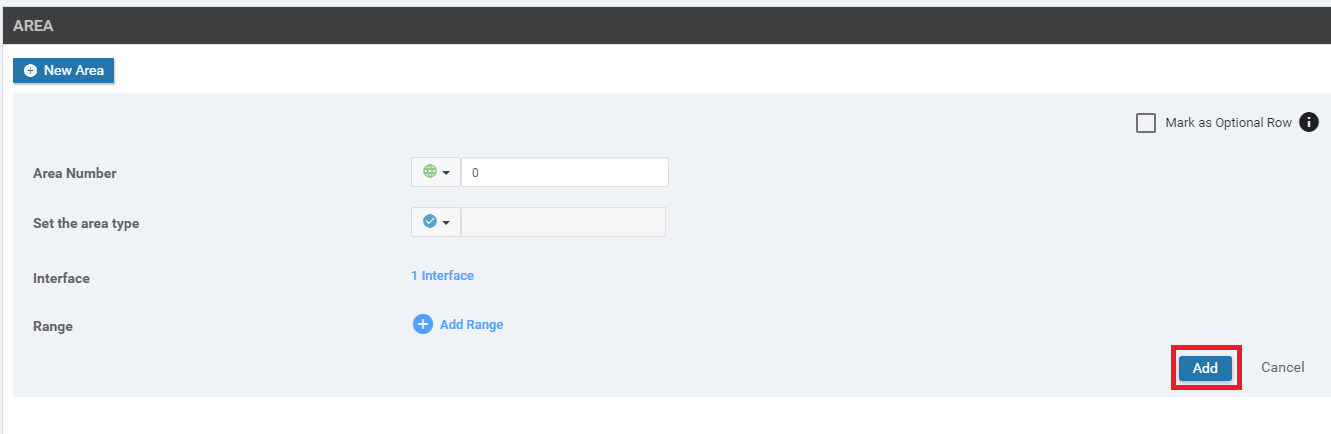
Set the Area Number as a Global value of 0. Our OSPF neighbourships will be formed on Area 0. Click on Add Interface
-
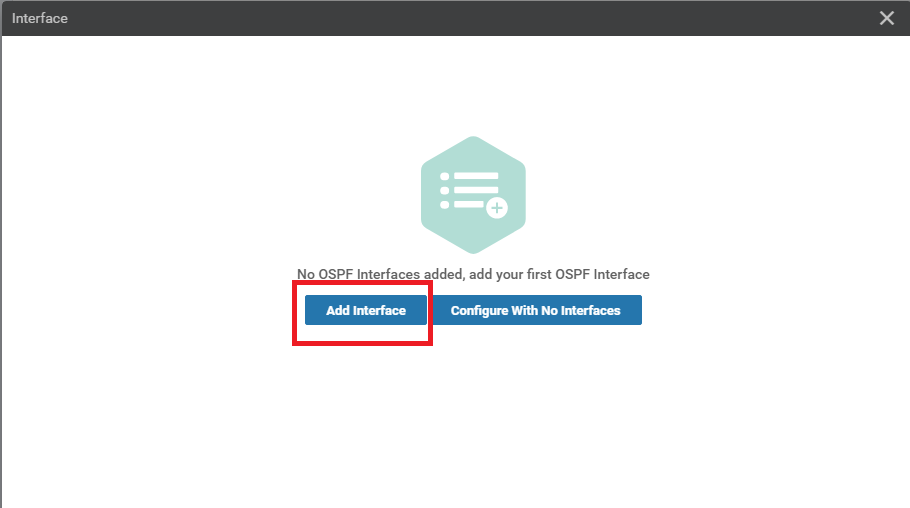
Click on Add Interface again to add the OSPF Interfaces
-
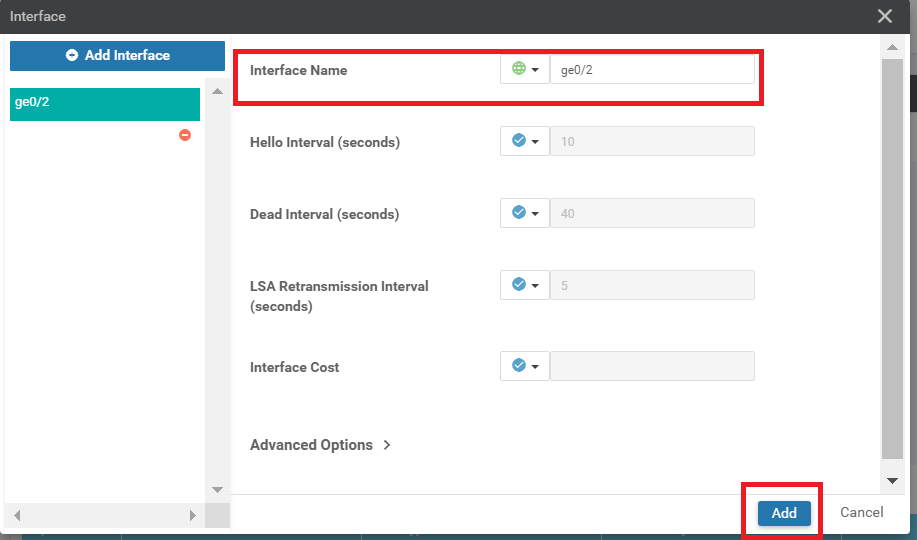
Specify the Interface Name as a Global value of ge0/2 and click on Add. This is our LAN facing Interface in VPN 10
-
Click on Add under the Area section to Add these details to the OSPF Template
-
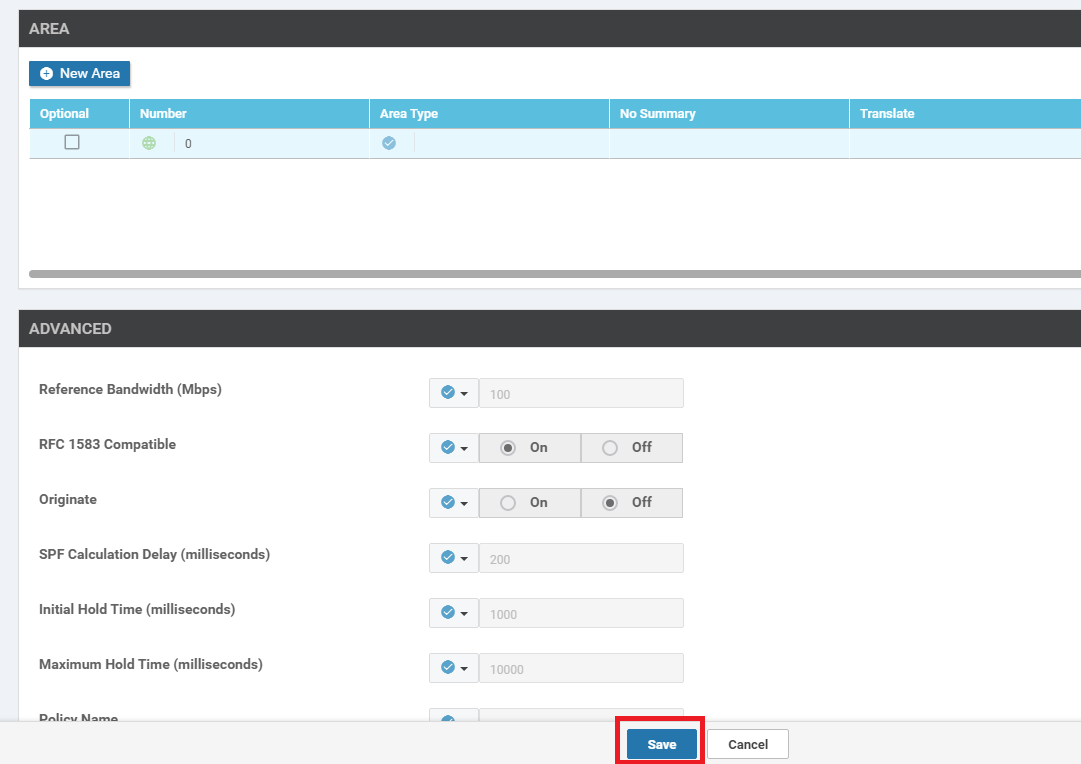
Click on Save to save the OSPF template
-
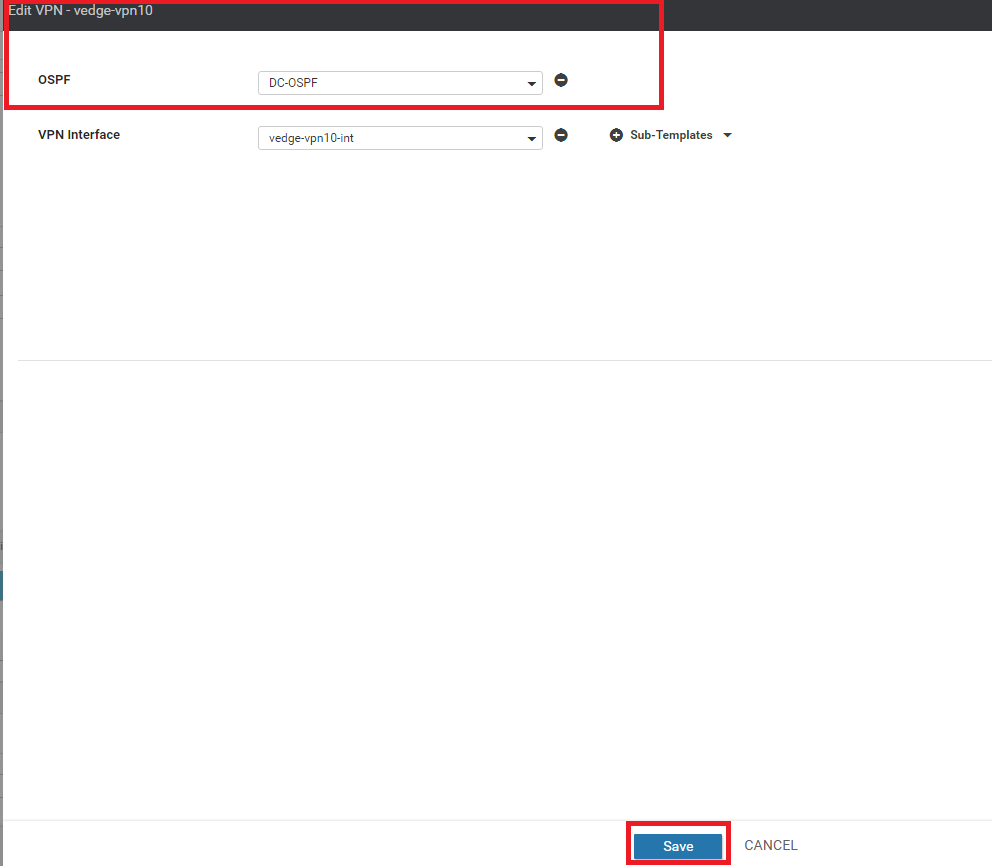
This should take you back to the vedge-vpn10 Template configuration window. If it doesn’t, navigate to it manually and populate the DC-OSPF template in the OSPF field. Click on Save
-
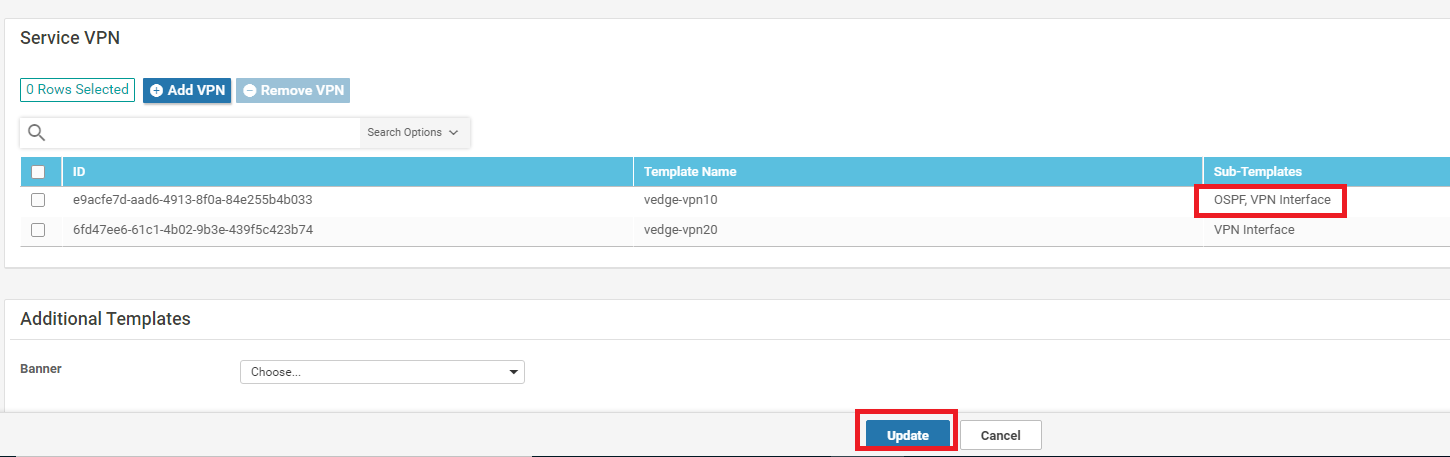
Make sure that the VPN 10 Service VPN has OSPF, VPN Interface tacked on to it and click on Update
-
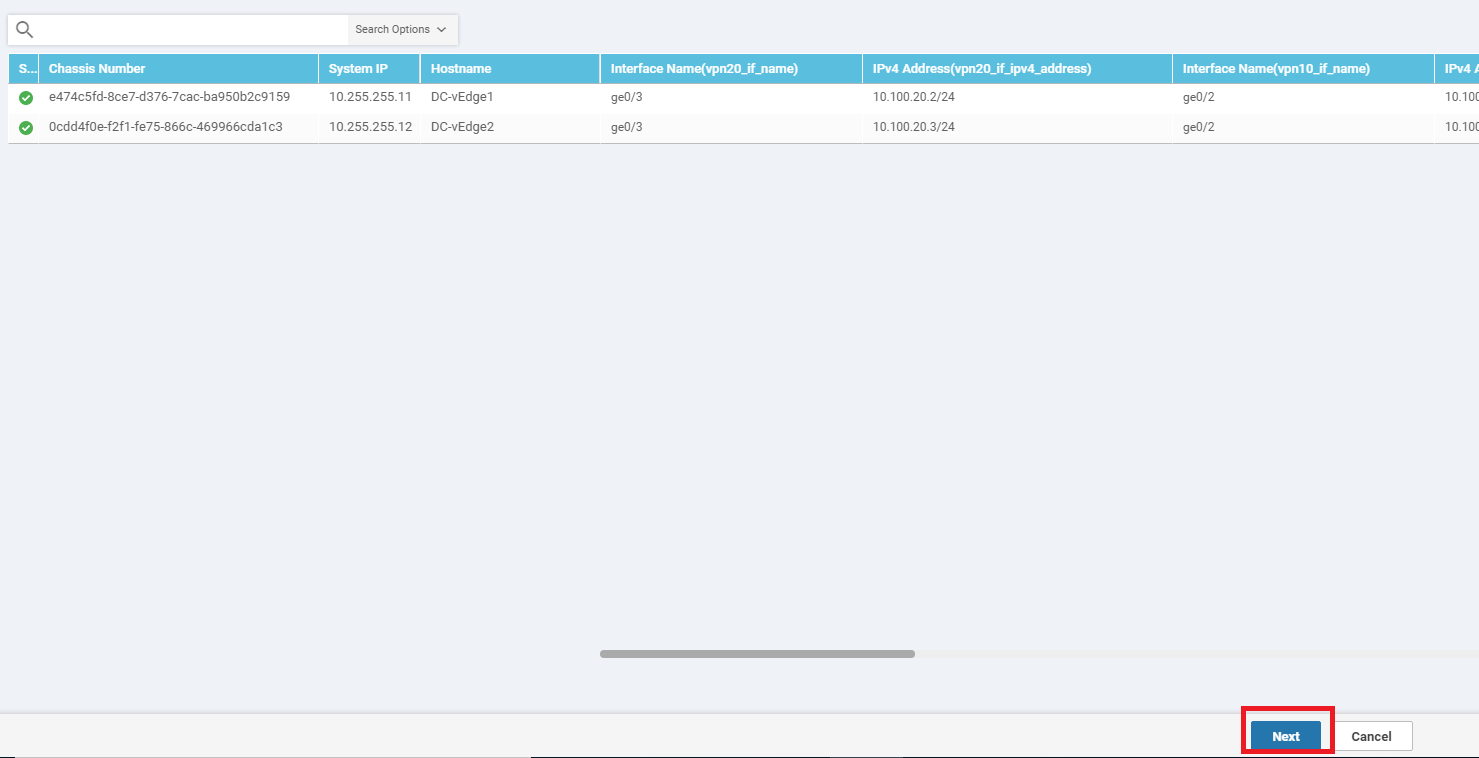
We are taken to the configuration page for the individual devices at the DC. There is nothing that needs to be configured, so we can click on Next
-
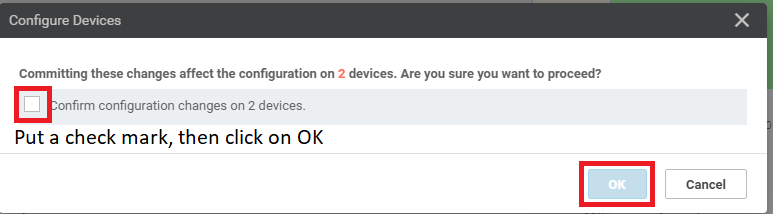
Review the side-by-side config diff (notice the OSPF configuration added) and click on Configure Devices. Confirm this configuration change
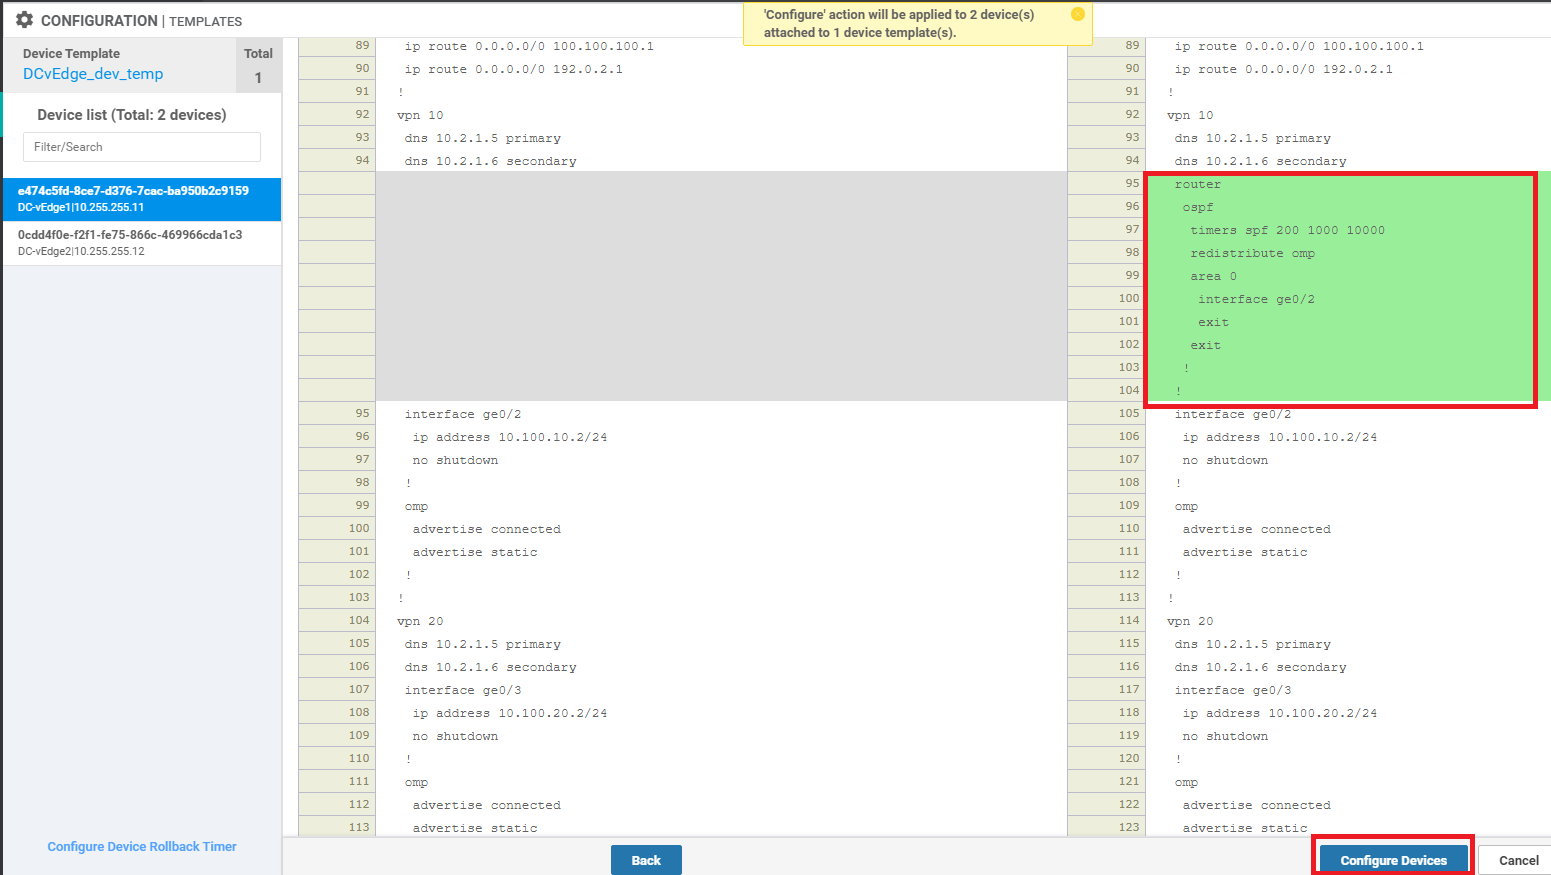
This completes the OSPF related configuration on VPN 10 for the DC-vEdges.
-
-
- Activity Verification
Activity Verification
-
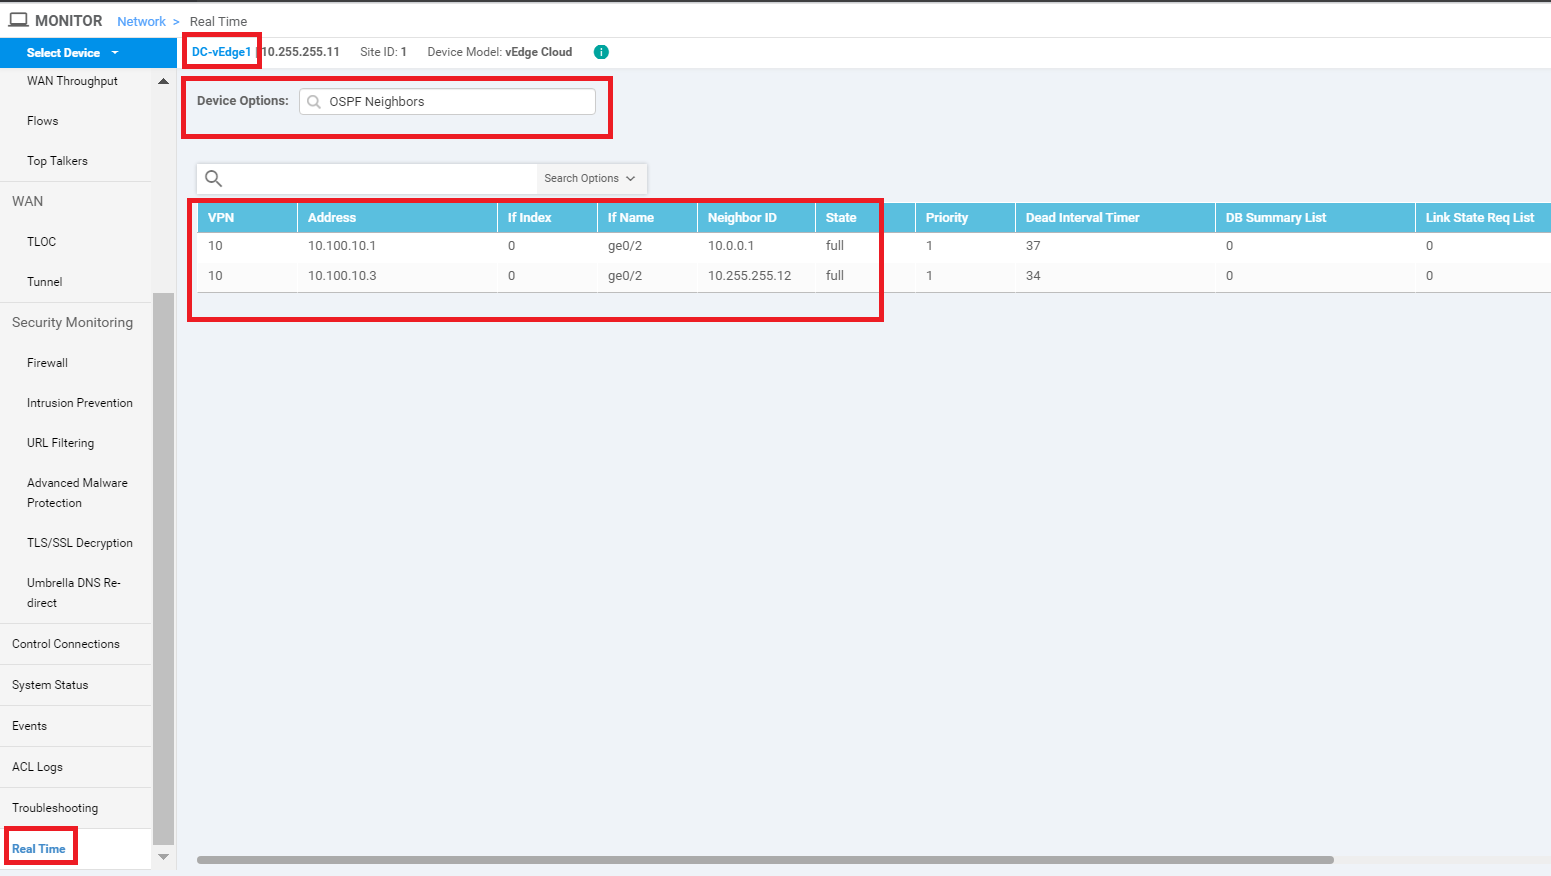
On the vManage GUI, navigate to Monitor => Network. Click on DC-vEdge1 and then on Real Time. Enter OSPF Neighbors in the Device Options and choose Do Not Filter, if prompted. You should see 2 OSPF Neighbors (Central Gateway and DC-vEdge2)
-
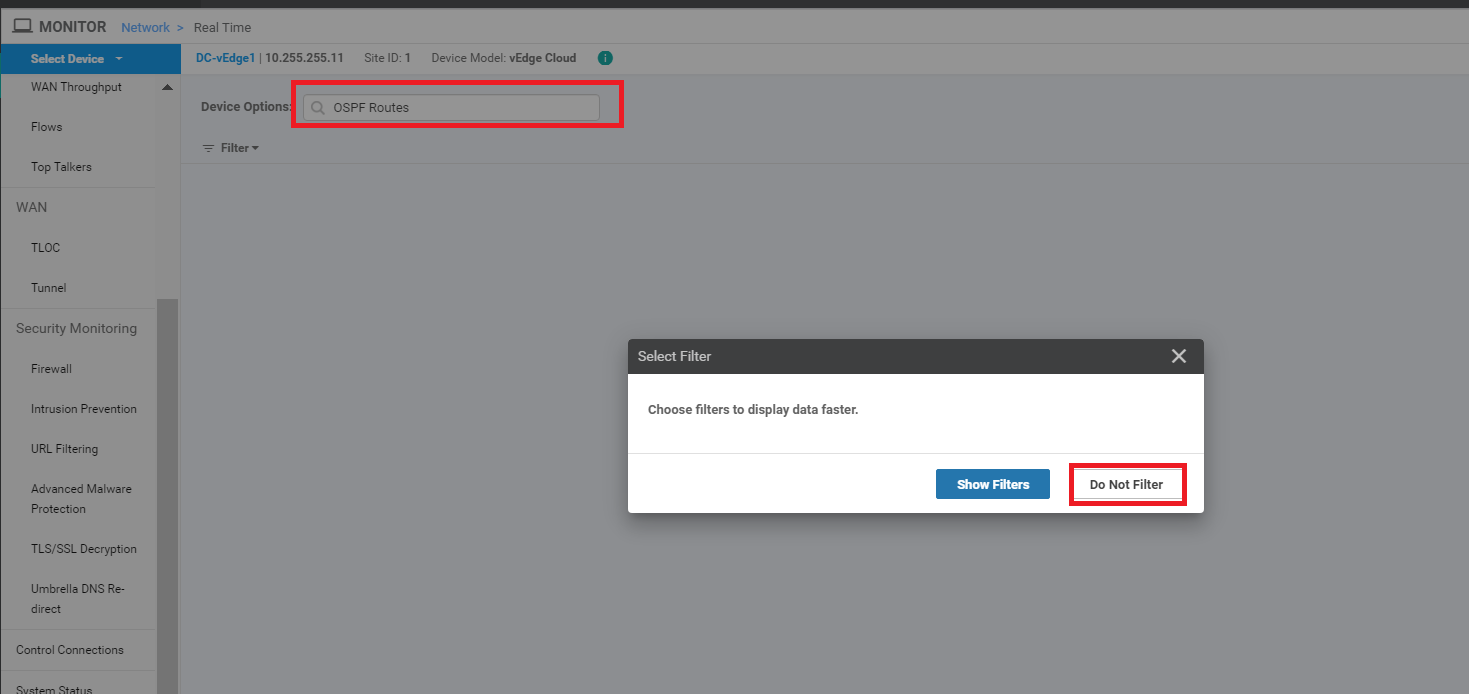
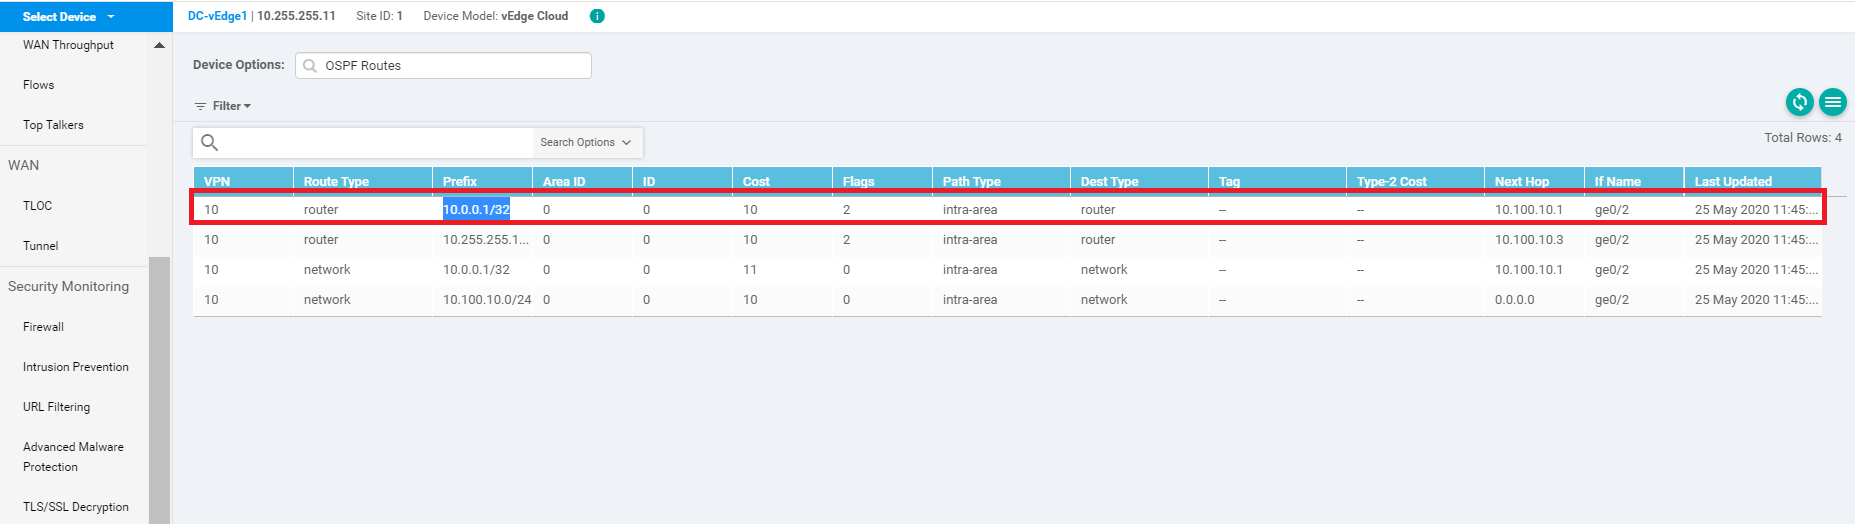
Enter OSPF Routes in the Device Options and choose Do Not Filter if prompted
-
You should see a Route for the 10.0.0.1/32 network, among others
-
The same information can be verified via the CLI. Log in to DC-vEdge1 and issue
show ospf neigh,show ospf routeandshow ip route ospf

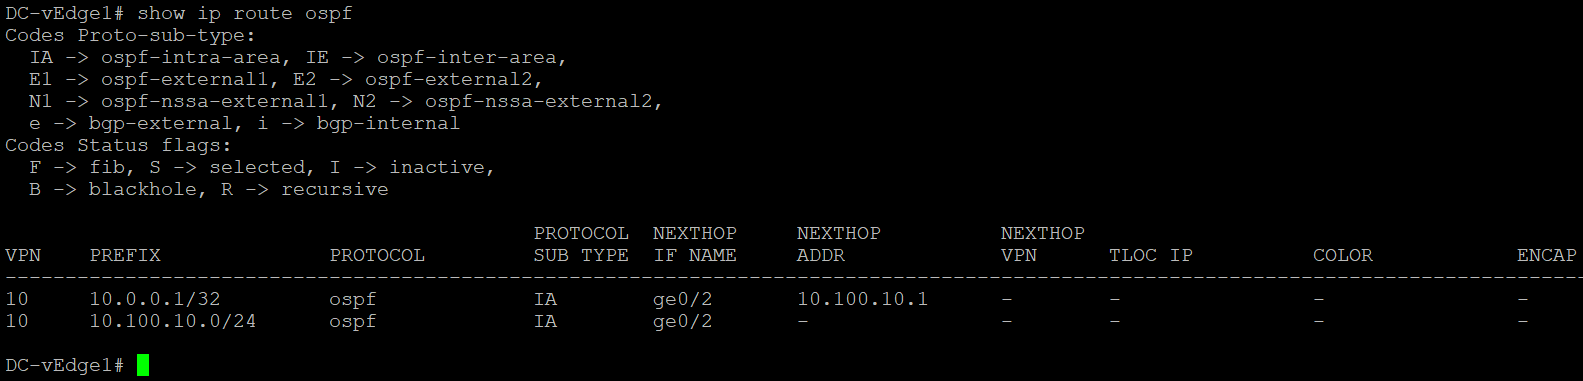
show ospf neigh show ospf route show ip route ospf -
Log in to the CLI of vEdge-30 and issue a
show ip route. You will notice that a route to 10.0.0.1/32 has been learnt via OMP. Intra-Area and Inter-Area routes are injected into OMP by default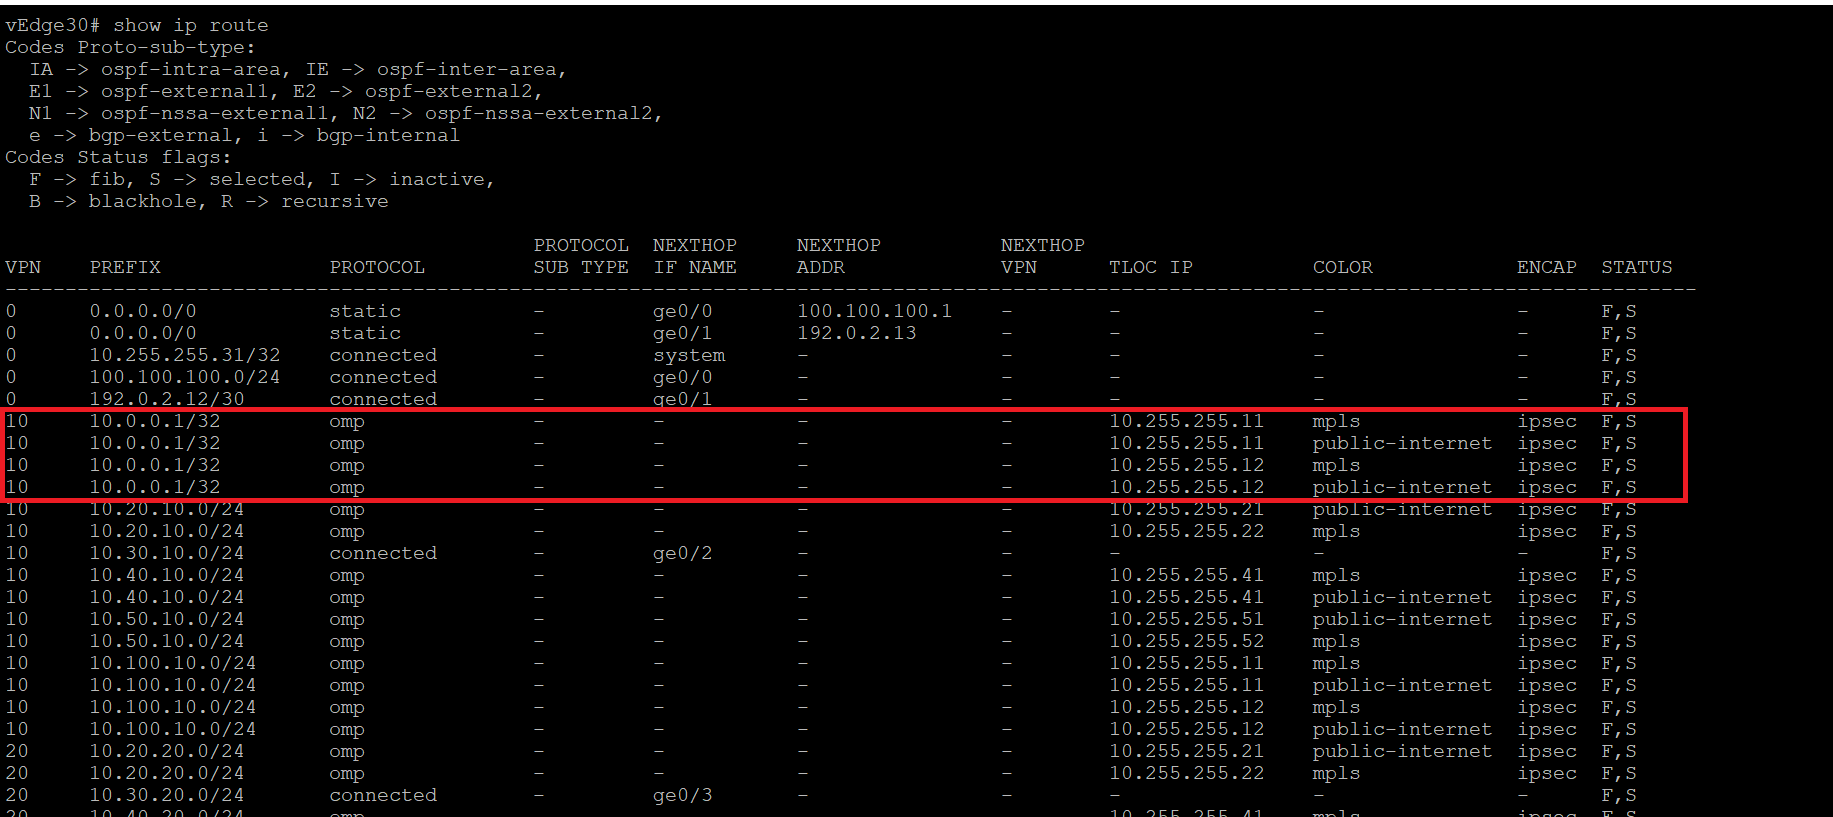
show ip route -
Issue
ping 10.0.0.1 vpn 10from vEdge30 to verify connectivity with the advertised LAN side route at the DC. The pings should be successful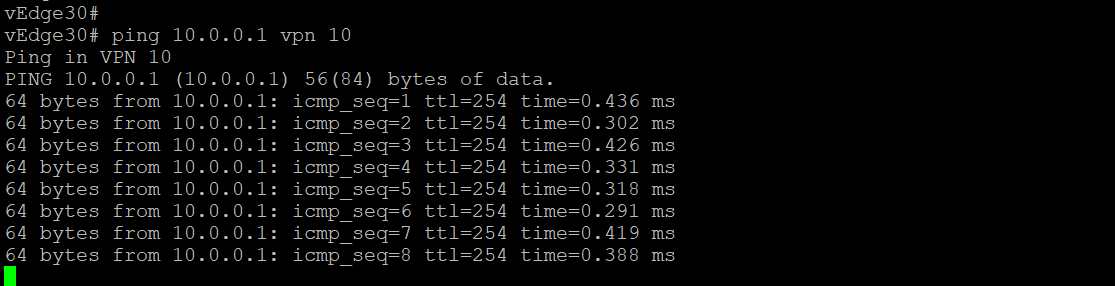
This completes the OSPF configuration and verification of connectivity at the DC site.