Introduction
Welcome to the Cisco SWAT SD-WAN Labs. Please take a moment to go through this and the Overview section, which will cover important information about the lab.
Lab activities start from Bringing up the DC-vEdges but some sections might already be done, based on the chosen scenario. For most cases, Lab Activities should go as per the following order:
-
Deploying Devices in Site 20 and Site 30
- Deploying vEdge30 - Dual uplink
-
Deploying Devices in Site 40 and Site 50
- Deploying cEdge40 - Dual uplink
-
Configuring Templates
Note that we are skipping a couple of portions of the lab (namely Bringing up the DC vEdges, Deploying vEdge20 - Single INET uplink, Deploying vEdge21 - Single MPLS uplink, Deploying cEdge50 and cEdge51) since these Sites have already been deployed. The sections are kept in the guide for reference.
(The rest of the sections are to be followed in order)
Connecting to the Cisco SWAT SD-WAN Labs is encompassed in this section. You will receive an email with the following information (or it will be provided to you by your SWAT contact):
- The Data Center (SJC or GHI) your POD is scheduled on and the POD number, along with the group
- VPN Credentials and connection information
- IP Address of the Jumphost/Guacamole
All lab activities need to be performed through the Jumphost/Guacamole.
Downloading and Installing Cisco AnyConnect
-
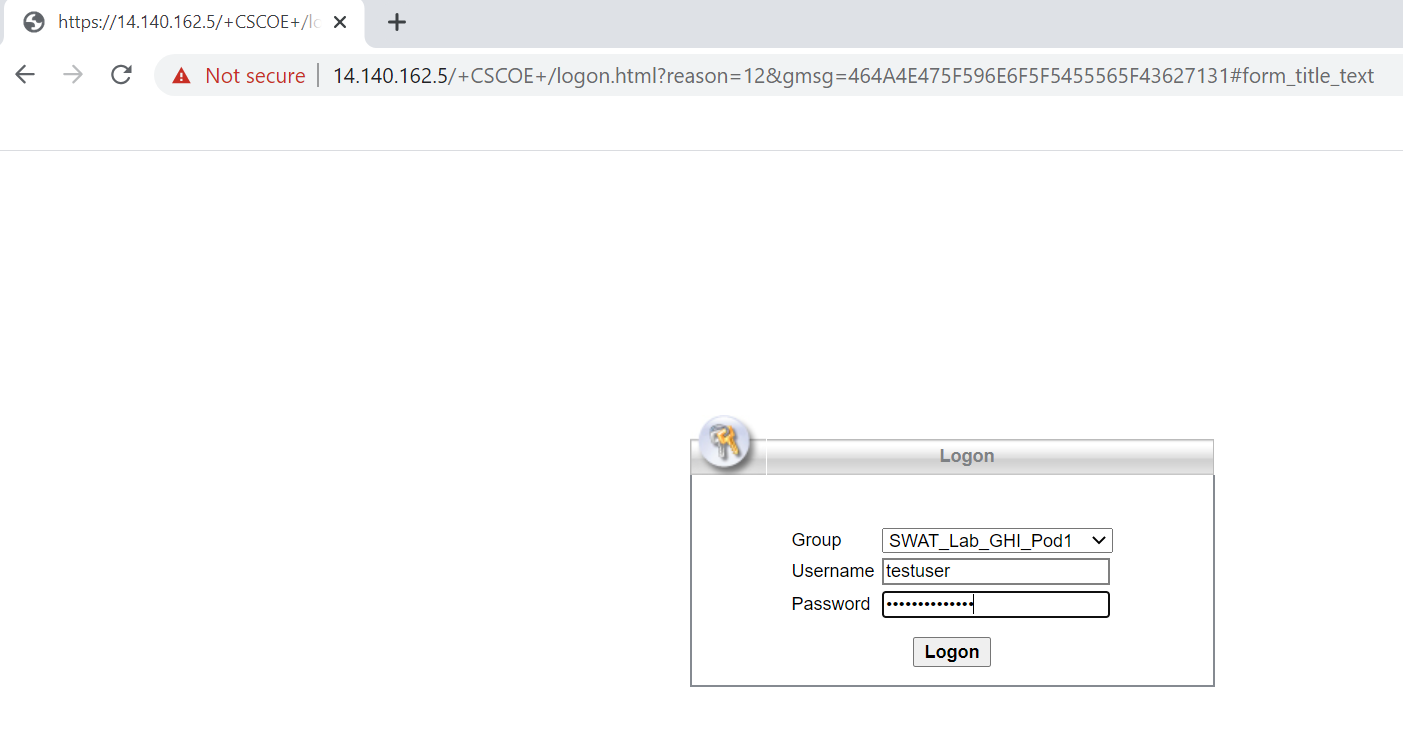
Click over here and you should be prompted to enter the VPN credentials. Choose the correct Group and enter the credentials provided for your POD. Click on Login. The URL is https://14.140.162.5/, for reference
-
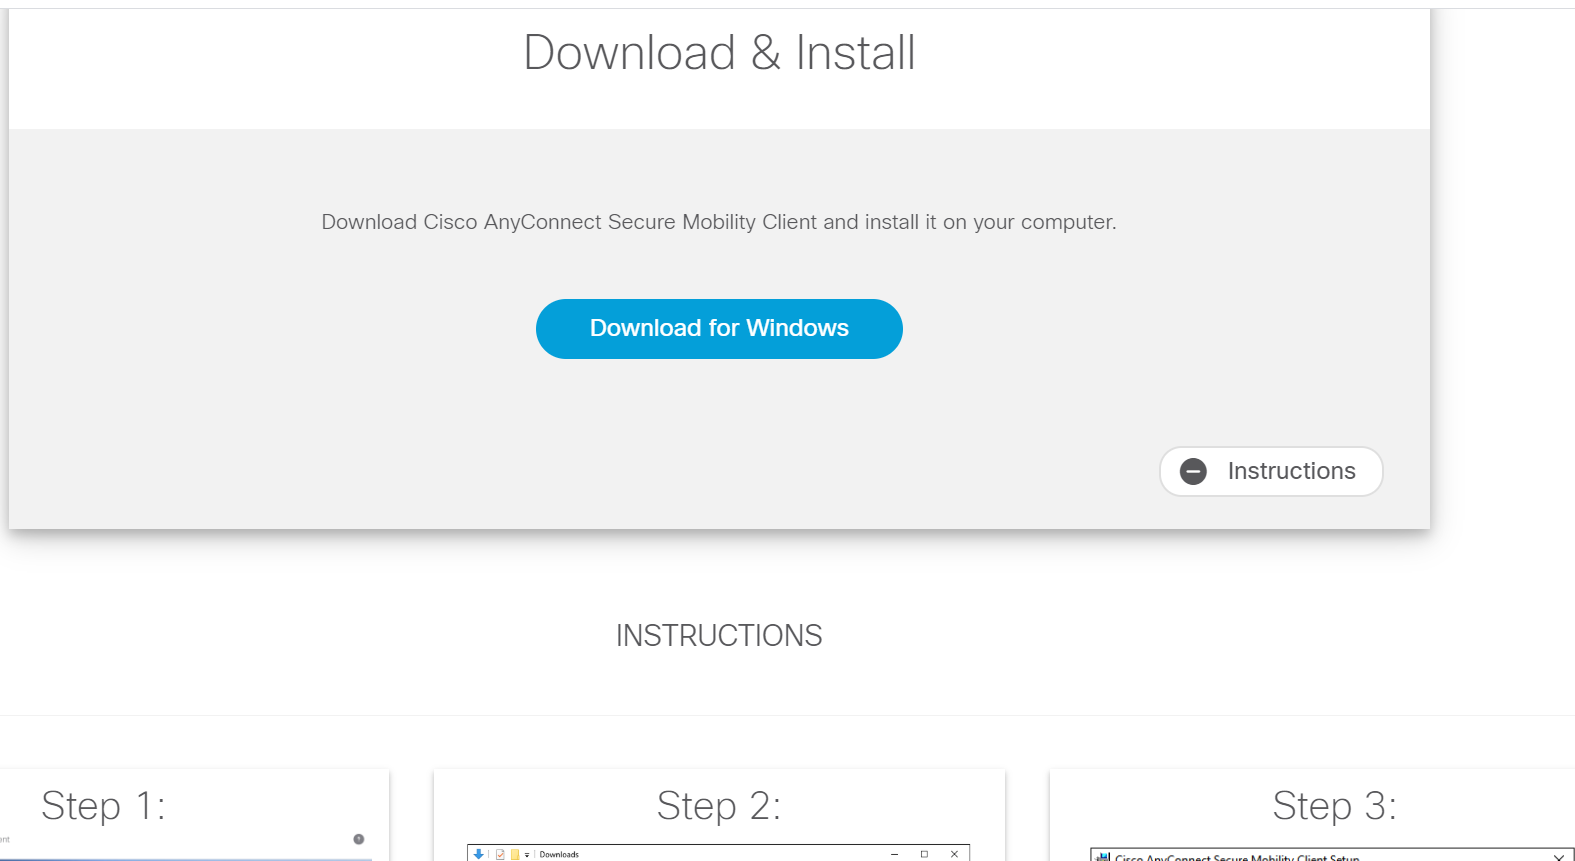
Once logged in, click on Continue and you should get a prompt to Download AnyConnect for your OS (Windows or Mac). Click on the Download button and save the file. Click on Instructions (lower right-hand corner) for a step by step procedure on how to install Cisco AnyConnect for your OS, if you are running into issues with it
Install AnyConnect and move on to the Connect to the Cisco SWAT SD-WAN Labs section.
Connect to the Cisco SWAT SD-WAN Labs
-
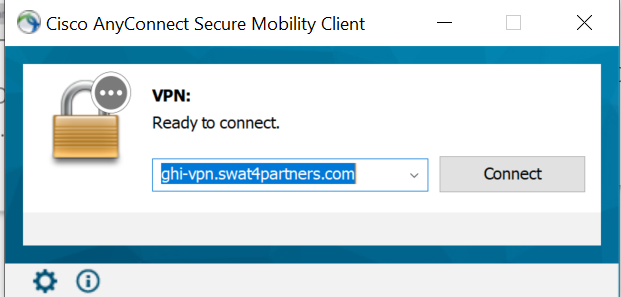
Once AnyConnect is installed, enter the destination URL provided to you in the email or by the SWAT contact and click on Connect
-
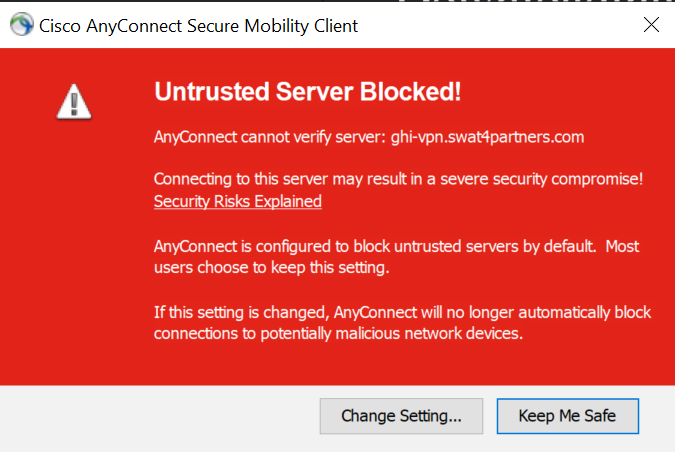
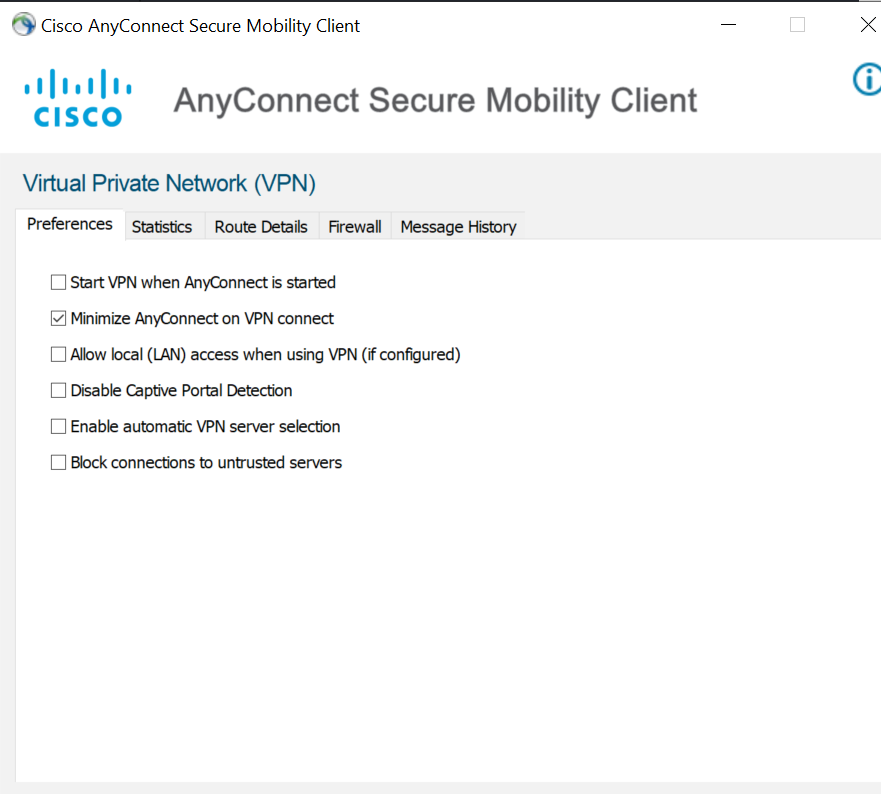
If you get an error like the one below, click on Change Setting, else skip to Step 5
-
After clicking on Change Setting, make sure you uncheck the last option in the Preferences tab - i.e. Block connections to untrusted servers should be unchecked
-
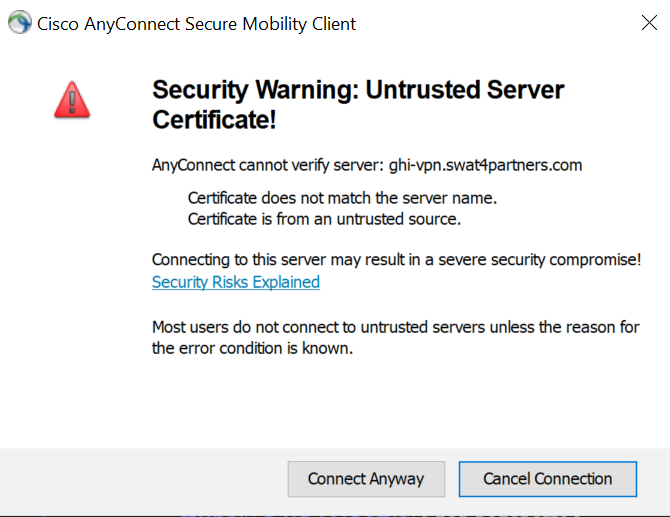
Once unchecked, close the Preferences window and click on Connect again - the error should not show up anymore. Click on Connect Anyway in the Security Warning
-
Click on Connect Anyway if you’ve skipped over here from Step 2. If you’ve come from Step 4, this is already done and you can proceed.
-
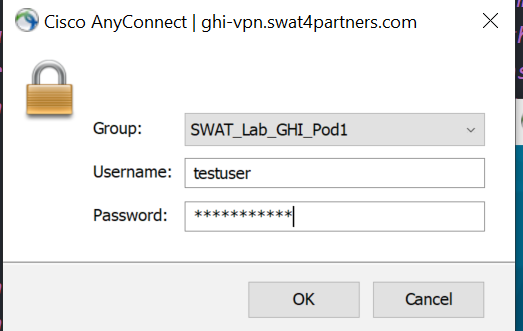
You should be prompted for your username/password and provided with a drop down to select a Group. Please make sure you choose the correct Group as per your POD and enter the VPN credentials provided for your POD. Click on OK
-
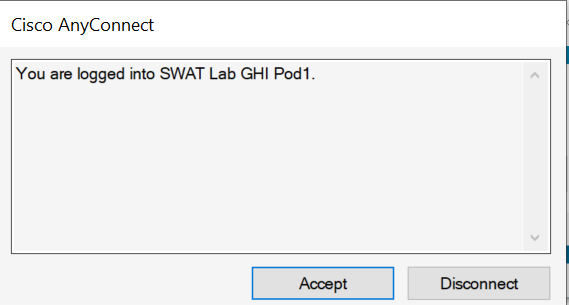
You should be presented with a popup - click on Accept
-
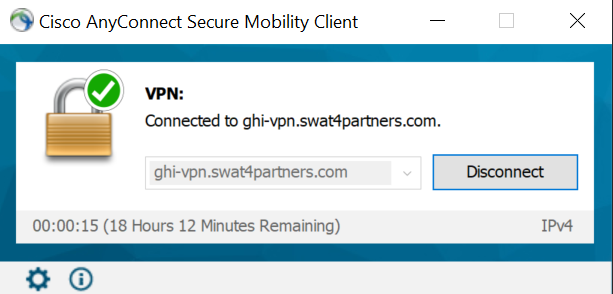
The VPN connection should be successful and the window will auto-minimize. Open AnyConnect and you should see your connection status to the Cisco SWAT SD-WAN Labs
You should now be able to RDP to the Jumphost for your POD. The IP for the Jumphost and your POD number will be sent in an email or provided by your SWAT SPOC. Credentials are given below and can also be found under Overview => Topology, Credentials and IP Addressing in the lab guide.
| Username | Password | IP Address |
|---|---|---|
| admin | C1sco12345 | 10.2.1.22X if connected to the GHI DC and 10.1.8.22X if connected to the SJC DC where X is your POD number |
If things aren’t working as expected, please use the Need Help? link at the top of the page (or check with your SWAT contact) to send an email to our support team and someone will get in touch with you at the earliest. If the Need Help? link isn’t visible, there should be a menu on the top-right of the screen. Click on it to display the Top Navigation Bar.